As one of 20+ bloggers participating in the Thrift Store Décor Challenge this month, I am excited to share how I updated and ugly ceiling fan for under $10.
When you get to the bottom of this post you will be treated to some serious creativity so please hop around to each blog and get to know us and our thrifty goodness.

The Rules:
- Upcycle an item(s) from a thrift store, resale store, or garage sale into a new piece of decor.
- There’s no monthly theme.
- There’s no budget to stick to.
Amanda | Domestically Creative
Angela | Simply Beautiful by Angela – Michelle | Michelle James Designs
Molly | Just a Little Creativity – Victoria | Dazzle While Frazzled
Marie | The Inspiration Vault – Marie | DIY Adulation
Debra | Shoppe No. 5 – Gail | Purple Hues and Me
Jennifer | Cookies Coffee and Crafts – Ann | Duct Tape and Denim
Denise | My Thrifty House – Florence | Vintage Southern Picks
Deborah | Salvage Sister & Mister – Yami | The Latina Next Door
Pili | My Sweet Things – Kathleen | Our Hopeful Home
Karen | Dragonfly & Lily Pads
How to Update An Ugly Ceiling Fan
Said in the voice of Chip Gaines, raise your hand if you have an ugly ceiling fan in your house but can’t live without it. Fret no more because I am going to show you an easy update for your boring ceiling fan using recycled parts from spare lamps and light fixtures.
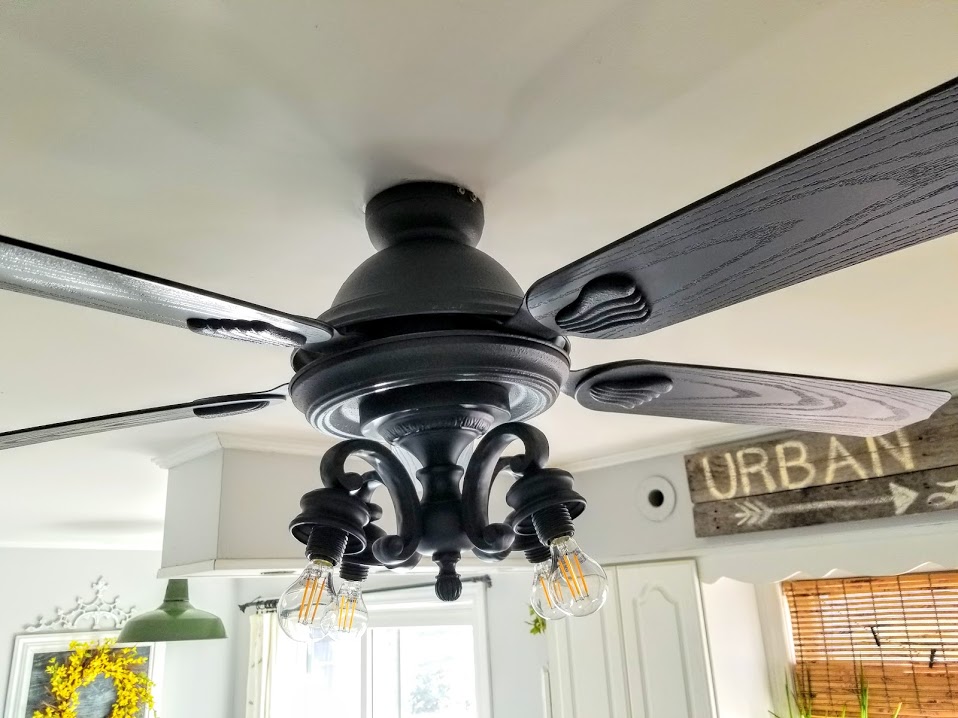
Lucky for me, my husband is handy, organized and saves everything! He has drawers full of knobs, screws, wires and “stuff” because I come up with the random, crazy ideas and he makes my vision come to life. So far he has updated two of our boring ceiling fans and I’m sure we’ll eventually work our way throughout the entire house.
Anyway, my kitchen is tiny, has no air circulation and when I’m on a cooking binge it gets heated up pretty darn fast. I would love to ditch the ceiling fan all together but that’s not an option.
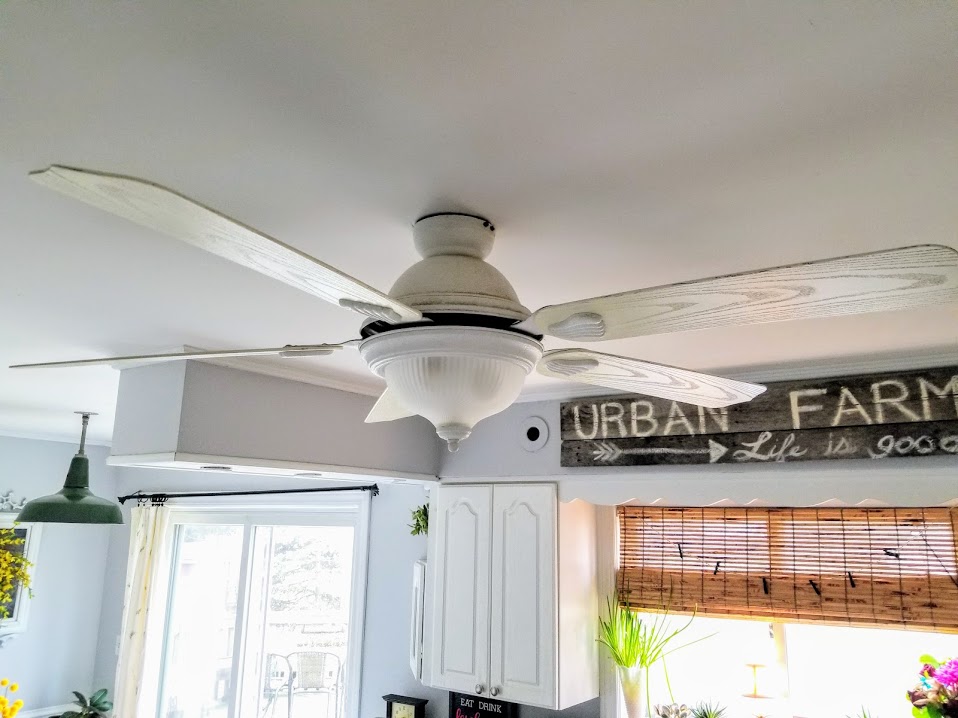
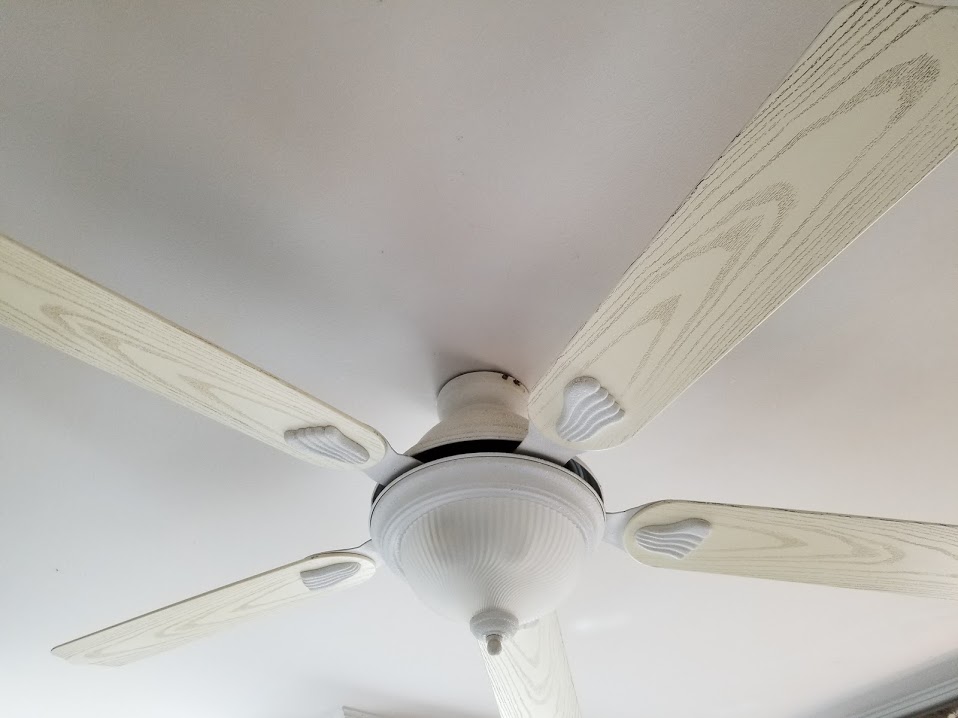
As you can see, this white fan had seen better days aesthetically with it’s yellowing blades and dirty, grease collecting faux wood grain. The frosted light dome created a dim light that was not ideal for lighting up a kitchen but it worked like a champ. There was no sense in tearing it out when we could do an update ourselves.
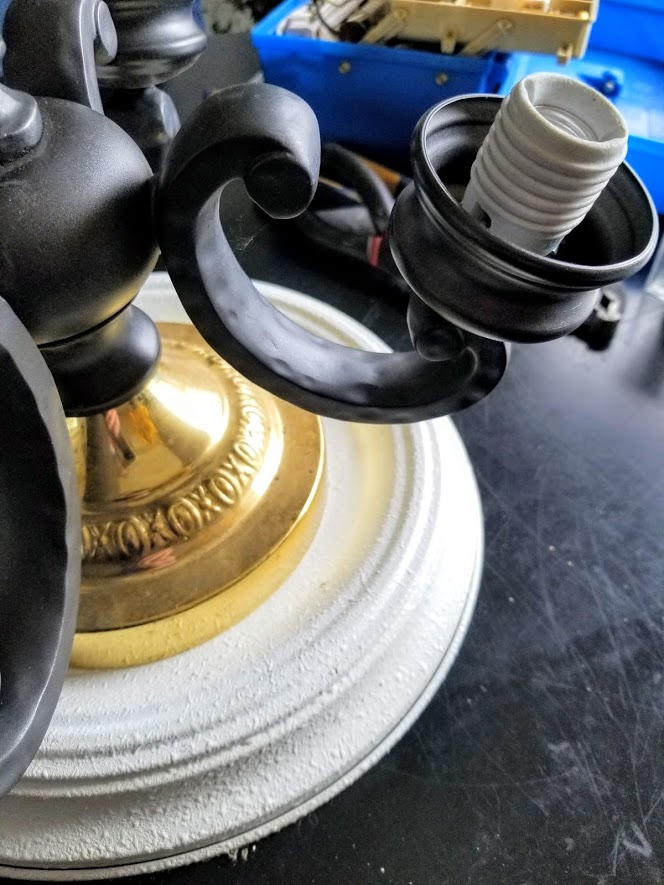
When I did a room makeover for my daughter I had purchased a couple of light fixtures for her to choose from and she went with the chandelier. So I had this black light fixture saved for the kitchen fan update.
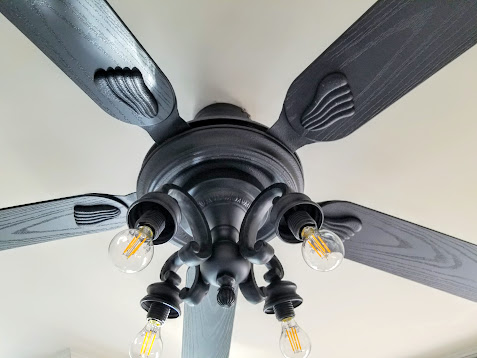
The base was a little short so my husband added the brass piece from an old lamp he had pulled apart. As you can see, white base is from the original fan, the brass piece is from a lamp and the black piece is what I bought at the Habitat Restore.
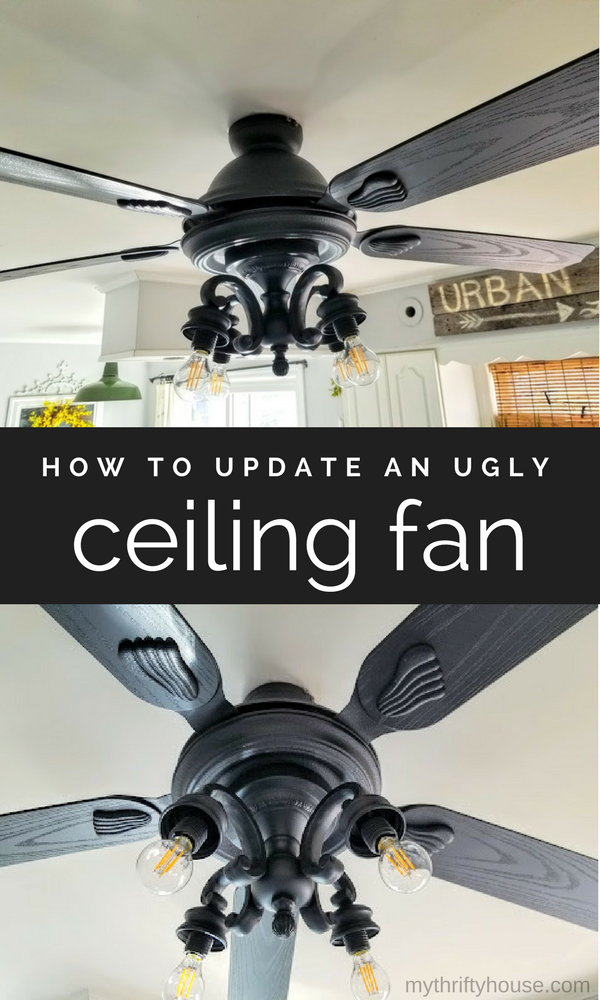
I have dubbed this one the Frankenstein fan because we pieced together so many parts to make it work the way we needed it to function. I love how it looks and these Edison bulbs throw off some great light.
With a couple of coats of flat black spray paint we now have a cohesive look and an easy update for an ugly ceiling fan.
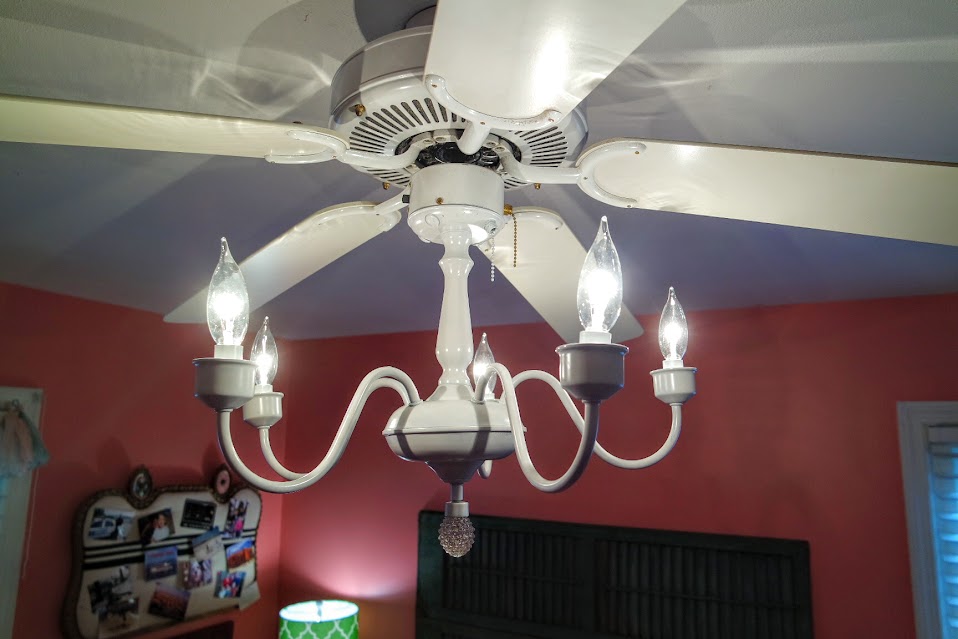
Here is a pic of the fan chandelier aka “fandelier” we made for my daughter’s $100 room makeover.
Again, we took a basic, boring, ugly ceiling fan and added some spare parts, some spray paint and pizzazz.
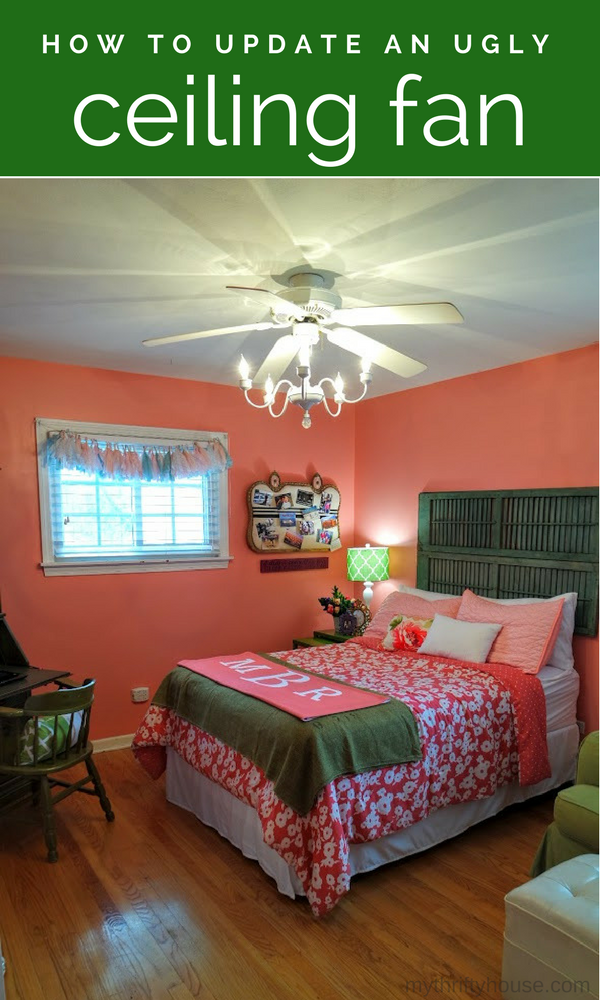
With some basic wiring skills, you can create a custom and unique ceiling fan for every room in your house and save lots of money too.

Check out what my fellow upcyclers created below!

Great job! I do love the look of those bulbs in the light. My parents have that issue in their kitchen/dining combo. Needing the air circulation, but not exactly loving their current fan. I will show my mom this!
I love the bulbs too. They are LED bulbs without giving off a weird light…I love them.
That is sooo cool! I love all those rescued fan and lamp parts you used to get something y’all can use! The black looks really good too. Having a handy hubby is such a blessing. I’ve got one of those too.
Yes, my hubby is so used to doing all my crazy projects. He’s a good guy.
Great transformation! Love how much brighter anything painted white looks. Visiting from Thrift Store Challenge.
Thank you.
Yours looks great. We did one as well and are thrilled with the change and the price.
I am always thrilled with the price when we can repurpose and save some money.
Your update looks great, and they are hard to improve. We only have one left and like your kitchen one, we need the fan function. Up until reading your post, I had just resigned myself to ignoring it, but now I am inspired to improve the ugly beast.
Thank you.
I definitely have some outdated ceiling fans in my house. I love the idea of adding and taking away different parts until you have the perfect look. This is amazing!
This turned out so amazing. Your husband is so talented to be able to bring your vision to life.
I just love this post. These are really awesome ideas to update an ugly ceiling fan. Thanks for sharing this post.
Comments are closed.