
Each month I team up with my blogging friends and share a craft project with you made from supplies I have been hoarding collecting. We call it the Craft Room De-Stash Challenge. This month I am sharing the book page wreath that hangs in my office.
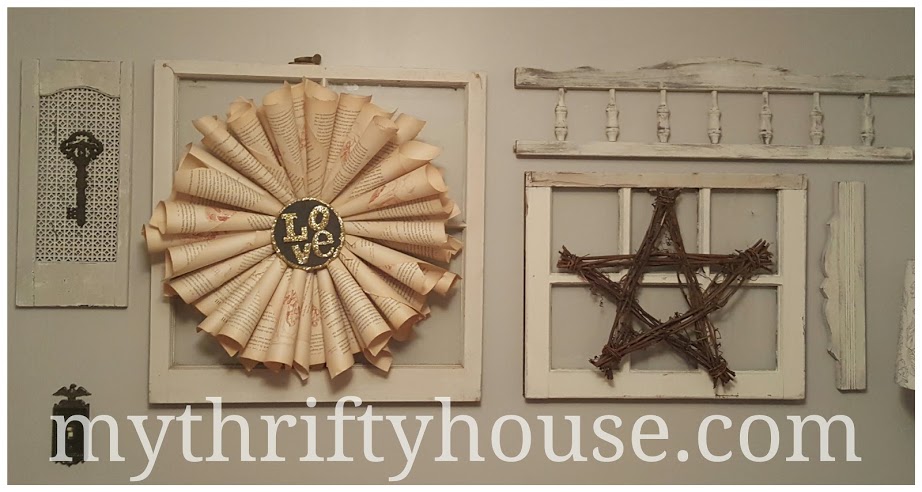
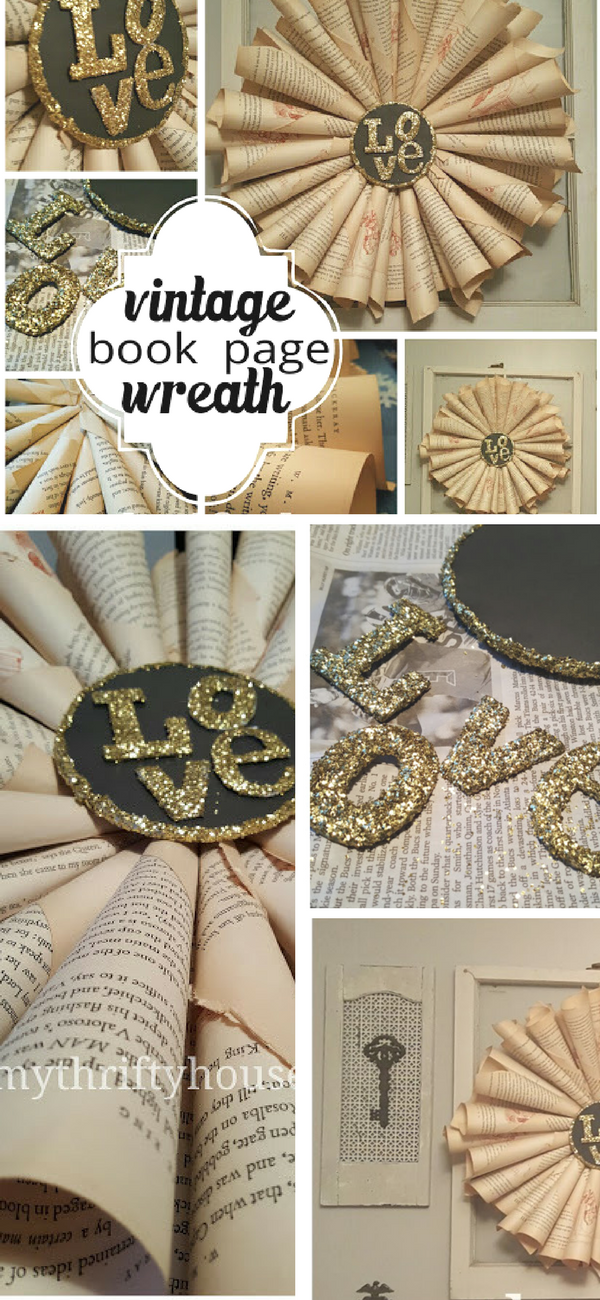
I think this book page wreath just might be one of my all time favorite DIY craft projects. It’s so random and fun hanging on an old window frame in my office and it has a lot of character. It was easy to make and it didn’t take long at all to assemble the 34 cones.
As you will learn, I’m an impatient DIYer, I don’t like to follow directions and I don’t like to wait for things to dry. I think I checked all those boxes on this project.
- Patience: How hard can it be to roll book pages? When they are old and dry they tend to tear easily so I had to “slow my roll”.
- Directions: After doing research, I created a Book Page Art Pinterest Board but I don’t think I followed any one set of directions. The typical mash-up project for me is using a little bit of everything and adjust as I go.
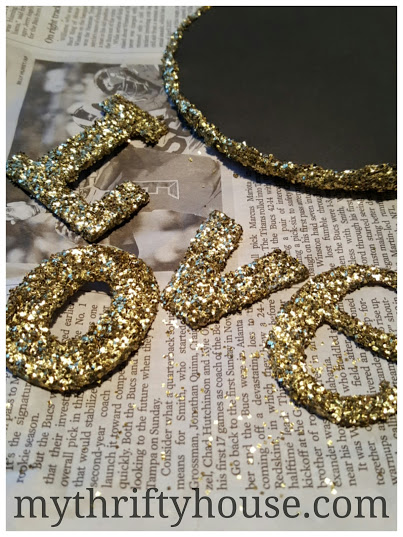
- Drying time: Glitter and glue all over my table, clothes and hair. (Enough said.)
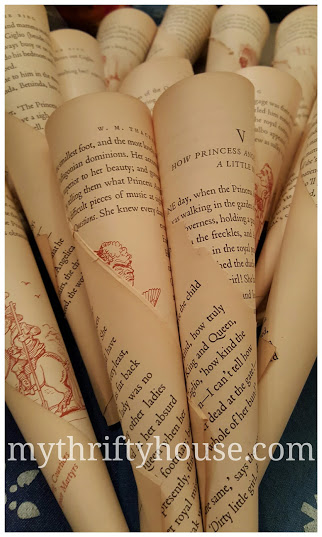
Once the pages were semi-uniformly rolled, I hot glued them around a 6 inch paper plate and layered them to fill in any gaps. It’s important to roll your pages in a semi-uniform dimension so that you don’t have gaps and get semi-even layers.
I personally prefer the loose rolled pages versus tightly rolled pages because it gives more volume and takes less pieces to assemble. Also, I was not particular about seams and I preferred the random direction of the cone tips around my book page wreath. (If you are a perfectionist, you might want to pay attention to those tiny details.)
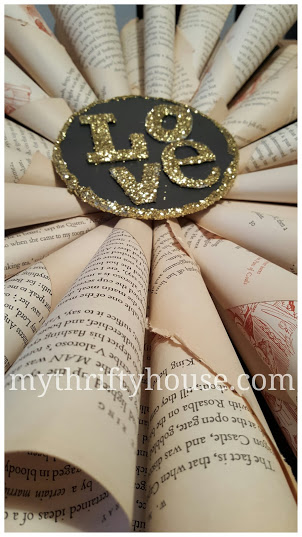
For the center, I opted to make a Valentine’s Day sign with a piece of scrap cardboard covered with black paper and rimmed with chunky gold glitter. The letters were from my craft supply stash and since none of them matched I “glitterfied” them as well.
I attached the sign with a piece of wire that was run through the center of the book page wreath and through the paper plate. The wire also doubles and my wreath hanger. I opted for a removable sign so I can change it out with the season or holiday.

Very cute!
Super cute! Will be making one for sure! Thank you for sharing your tips and tricks 🙂
Thanks Sam! Can’t wait to see your wreath.
This is fabulous. I just love clever people who make wonderful crafts! This is an awesome project and loks great on your wall. XOXO
Thanks so much Susie 🙂
Great project! Love the “Directions for Dummies”! That’s totally how I craft, too!
That’s how I roll Allison….by the seat of my pants. LOL…thanks for visiting.
So cute!
Thanks Janice. I need to redo my pics for this post…I’ve learned so much since I did this wreath. 🙂
Comments are closed.