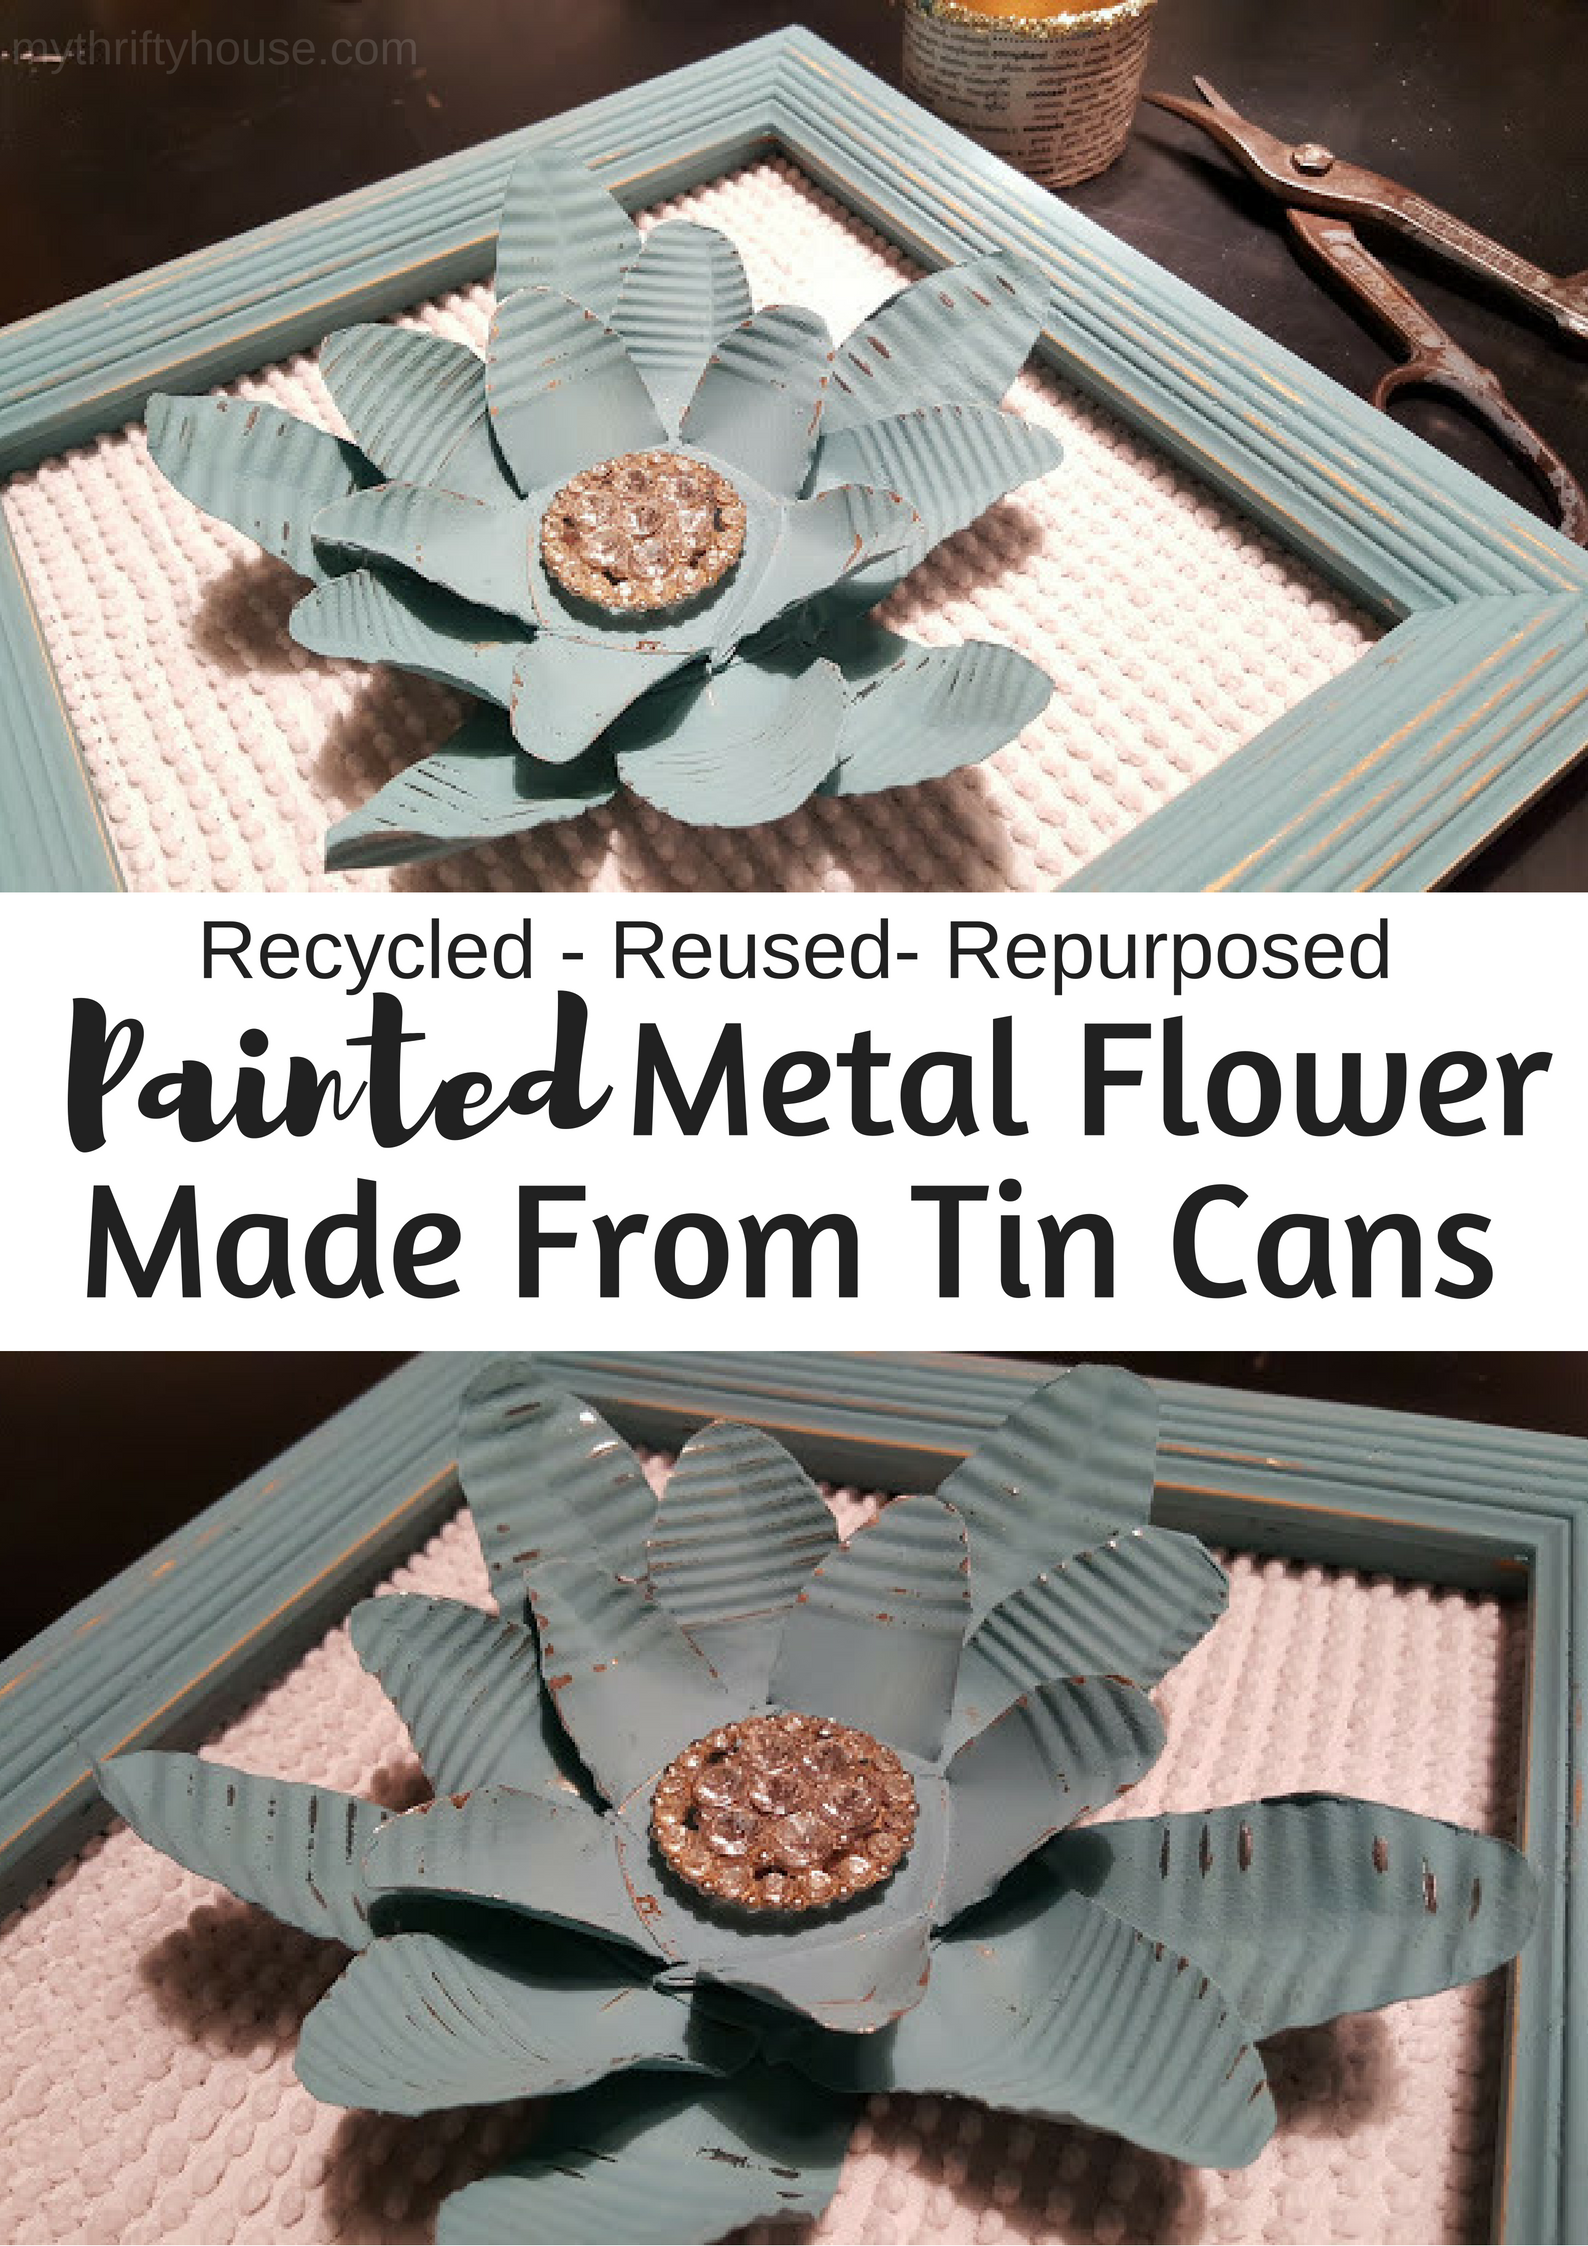
This painted metal flower was a true “challenge” in every sense of the word. My friend Toni from Small Home Soul challenged me to make something from a tin can for our weekly Waste Not Wednesday post. Of course, my mind immediately went to the ole’ tin can covered with string project that I made for my Mom when I was in Girl Scouts. Granted my crafting skills have since improved but I am sure I can rock a string covered tin can like nobody’s business these days.
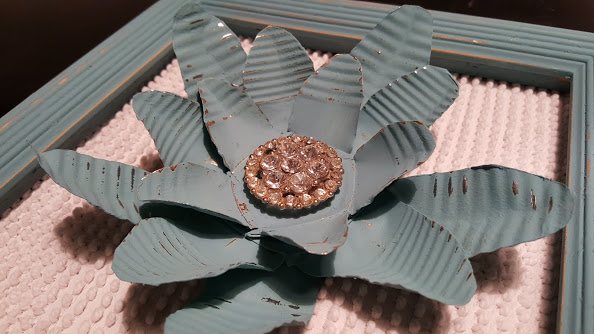
Anyway, back to how this painted metal flower was a challenge for me. The biggest challenge for me was using tin snips to cut the metal which requires some serious muscle. That’s why I had to enlist the help of my hubby for this project because he has the muscles. Also, the edges of the cut metal are extremely sharp and I am not the most careful person when it comes to making projects. {I kind of wanted to keep all 10 of my fingers.}
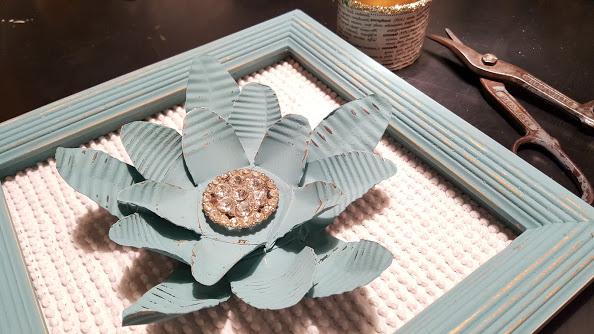
How to Make a Painted Metal Flower
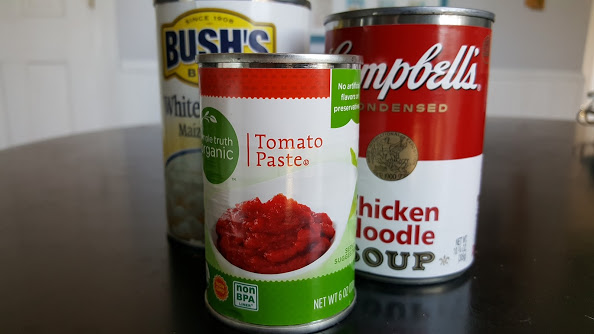
First I gathered 3 tin cans in graduated sizes and made sure they were emptied and cleaned. {Good thing I was doing a lot of cooking on this day.}
Then my hubby used the tin snips to cut the can into 5 sections that would become the flower petals.
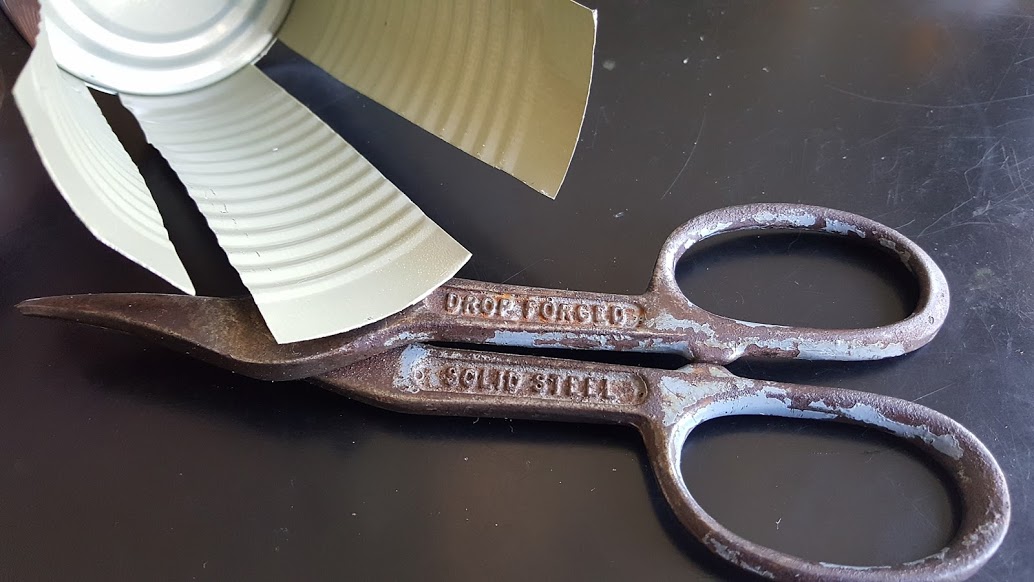
He then folded the petals down and hammered them flat.
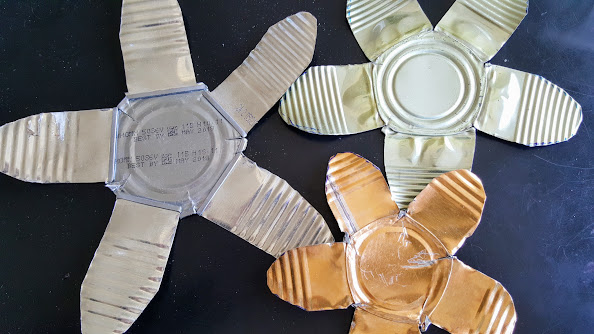
I drew flower petals on each piece and no I didn’t measure them either. I think it makes them more interesting if the petals aren’t uniformly cut.
After the flower petals were cut he sanded the rough edges with a sanding block.
Next, I painted each side of the flowers with two coats of my homemade aqua chalk paint that was left over from my baby doll bed makeover.
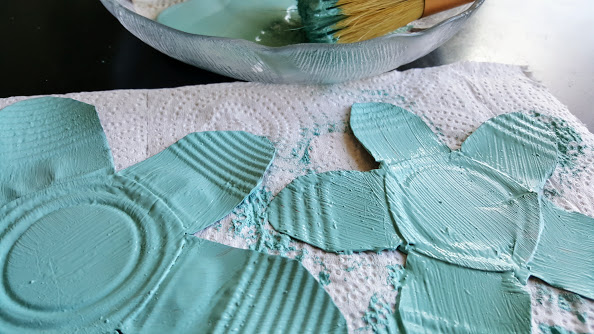
I lightly sanded the flowers to highlight the ribbed lines of the tin cans and give it some depth and texture.
Hubby then layered the flowers and added a rivet in the middle to hold them together. {You could also use JB Weld to hold the pieces together.}
I then curled the metal flower petals to give it some dimension.
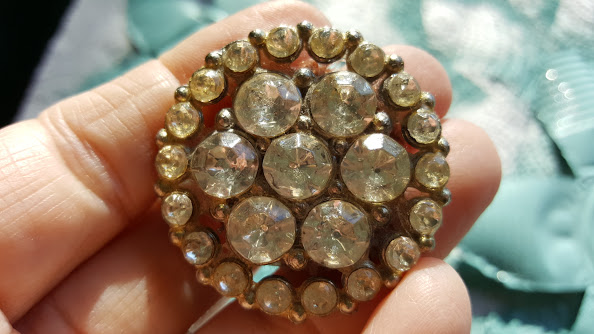
Lastly, I added a piece of rhinestone costume jewelry to the center of my painted metal flower.
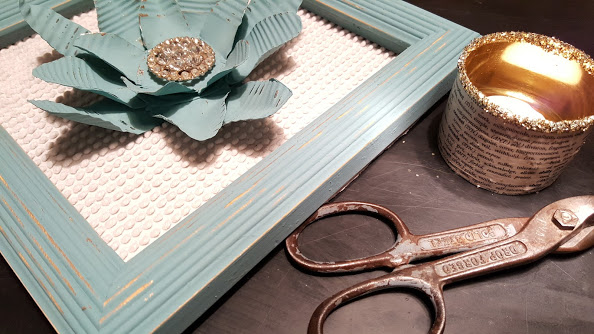
It’s no surprise that I was able to find a square frame in my craft room stash. I painted the gold frame with some of my homemade aqua chalk paint, distressed it with some sandpaper and lined the back with a scrap of leftover material used to make my chenille pumpkins this past fall. I attached the painted metal flower to the center of the frame and this beauty will be hung on the gallery wall in my Farmhouse Kitchen.

This post is being shared at the following link parties. Funtastic Friday – I am Pinnable – TaDa! – Waste Not Wednesday – Create and Celebrate
Wow, Denise! what a great idea!! I never would have thought of it!
Thank you Kellie. I am quite impressed with your tin can project too.
Oh my gosh, how beautiful! I think it’s safe to say that you won the tin can challenge 🙂
Hahaha…..thank for the challenge Toni…you really stretched my creativity. BTW…I love your project too.
I love a tin can craft and this is a great one I have pinned it to my repurposed tins board.
Thanks for stopping by Claire and for sharing too.
This is definitely a creative use for tin cans! It’s so beautiful and I love that color 😀 Pinning & sharing
Thank you Angie….this is my favorite “go to” color.
Super love this! Going into “things to make for spring” list! Now to save some tin cans….
Yea….make sure you tag me Kristie…can’t wait to see your version.
Wow!! It is so pretty!! This is such a cool Idea!
Thank you Anika.
What a great tin can project! I love the costume jewelry center , that is going to look amazing on your gallery wall!! Thank you for sharing with us at our first ever Create and Celebrate!!
Wow, this is unbelievable. This looks like lots of work but you would never guess the flower was made from tin cans.
Well done, beautiful post.
I love these!!!
This is such a clever idea Denise
Talk about taking a challenge to the next level! This is an amazing upcycle! Making something beautiful and worthy of hanging on a wall out of a can that is about to be tossed?! Seriously awesome
Thank you Debbie. I wanted to do something different and challenge my imagination too.
Denise,
I have been stuck lately. This post has peek my interest in sharing some projects again. Thank you for participating in TADA. You inspired me!
Happy Creating,
Karen Marie
Karen….so glad I could inspire you. Get crafty and get those creative juices flowing.
I’m pretty sure I would have made a trip to the emergency room attempting a project like this.
Your project turned out lovely.
You are too funny…..and me too. That’s why my silent partner did the tin snipping portion of the project.
Comments are closed.