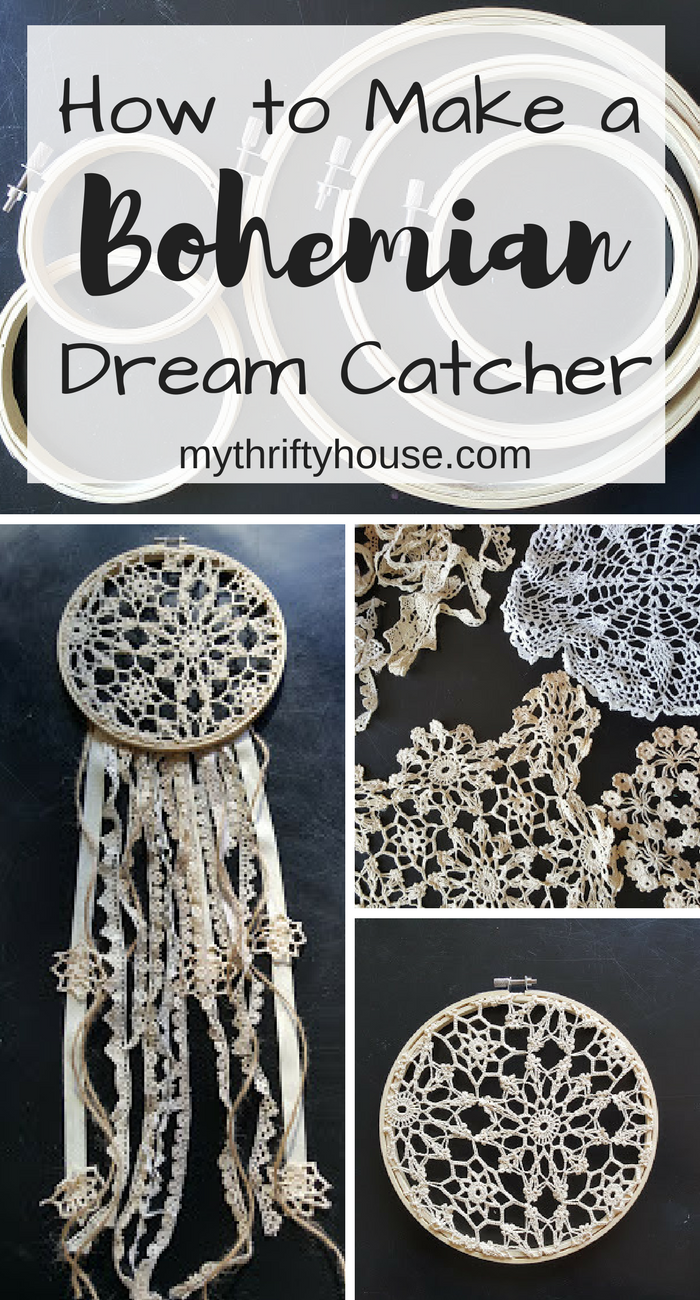
Each month I team up with my blogging friends and share a craft project with you made from supplies I have been hoarding collecting. We call it the Craft Room De-Stash Challenge. This month I am finally motivated to started a project that I have been wanting to do forever. This Bohemian Dream Catcher is just one of several that I need to make for a future project.
My daughter collects dream catchers and I am going to make several Bohemian Dream Catchers to create a headboard for her bedroom. I have embroidery hoops in various sizes and several different patterns of crocheted doilies that I have been collecting from the flea market as well as yards and yard of lace trim.
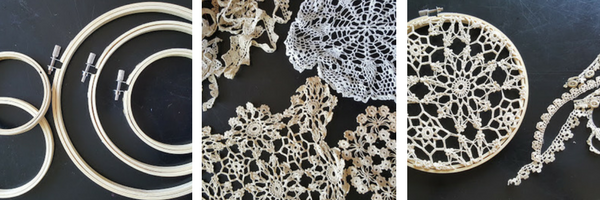
Supplies Needed to Make a Bohemian Dream Catcher
- embroidery hoops in various sizes
- crocheted doily
- ribbon and lace trim
- twine
- hot glue
I have had some embroidery hoops in my stash for a long time because I just pick them up whenever I see them at yard sales or the flea market. I can usually pick them up for 25 cents each.
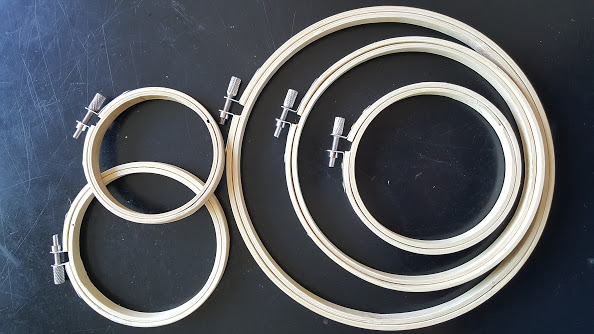
The crocheted doilies I used were picked up at the flea market for $1 each and make the perfect dream catcher because of their unique patterns. I don’t feel so bad cutting up these doilies because I try to pick the ones that are damaged or stained. Since I go for the worst of the bunch I tend to get a better price.
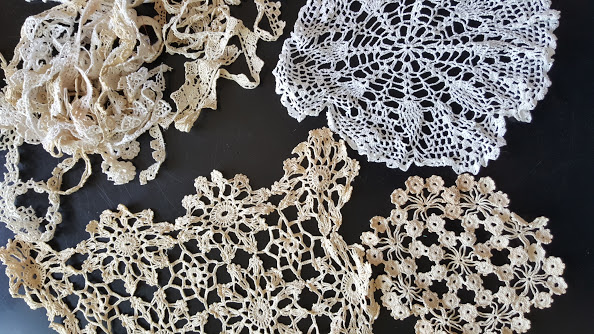
I have also been collecting lace trim and ribbon for the tails for my dream catcher. Today I hit the jackpot at the flea market because a lady was having a going out of business sale. She sold me a whole bag of lace trim and ribbons for $5. Score!
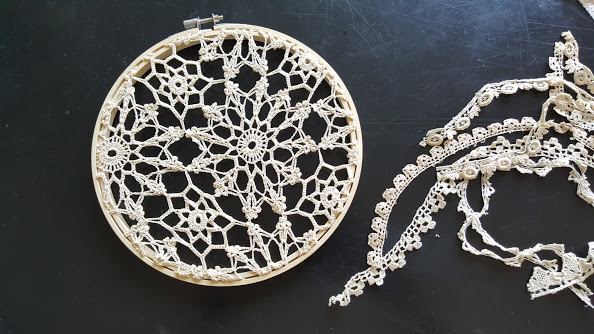
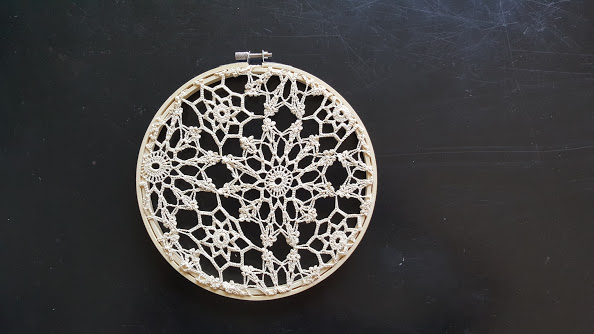
This particular dream catcher was made from a crocheted runner that had a burn mark right in the middle of it so naturally nobody wanted it. I scooped it up for $1 and used a 6 inch embroidery hoop to hold it tight so the beautiful pattern could be seen. Then I took my scissors and trimmed it around the edges of the hoop.
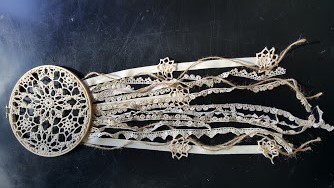
Then I broke out my handy dandy glue gun and added layers of lace, ribbon and twine to make the tails of the Bohemian Dream Catcher. I cut out some of the crocheted flowers and added them to the ribbons as well.
Now I only have to make 20 more of these Bohemian Dream Catcher to complete the headboard project which is a future post.

If you’d like to join in the Craft Room De-Stash Challenge, you can request to join our Facebook group here!

This is so cool! I love using the old doilies and hand crocheted lace to make them. So beautiful <3
This is really cute! A small collection of these in different sizes would look great!
THE DREAM CATCHERS ARE BEAUTIFUL. I CAN SEE A GROUPING OF THESE WOULD LOOK FANTASTIC.
Just gorgeous Denise! I love all of the textures of lace!! Can’t wait to see your wall of them!!!!
this is such a great idea! I love it, Denise!
So pretty! I need to share this with my friend who collects those crochet doilies.
Denise I love this project! Dream catchers are so popular with the college crowd! I will be making some of these for my store. Just beautiful!
So pretty! I love the use of the doilies. I have several that are not being used. This might be the project to make use of them 🙂
So fun.
What a gorgeous use of damaged doilies! I have a friend who loves dreamcatchers, she’d adore this!
I love the way these turned out! I love the boho look 🙂
Isn’t it so fun? I am going to make a whole collage of them.
Hi Denise, I, too, think these are gorgeous. I am making a wall hanging for my granddaughter from them and was wondering how you plan to connect the embroidery hoops to one another?
I was thinking of using some jute twine….or something neutral that will hold them together.
Love this dream catcher! It ‘s feminine with a vintage vibe. I have a bunch of old doilies that I need to do something with. Thanks for the inspiration for a great project.
Carol (‘Mimi”) from Home with Mimi
Thanks for visiting Carol. My daughter loves this so much she wants me to make a whole bunch for her room.
Oh, I love Dream Catchers and this one is a beauty! I’d love to tackle making one myself. Love this project, Denise. Thanks so much for sharing!
Love these!! I’m thinking of connecting mine with some burlap ?
Oh that a great idea. I am going to use just twine.
Comments are closed.