As much as I hate to see summer go, Fall is here and today I am sharing a fall burlap wreath tutorial as well as a round up of other DIY burlap wreaths my creative friends have shared with me.
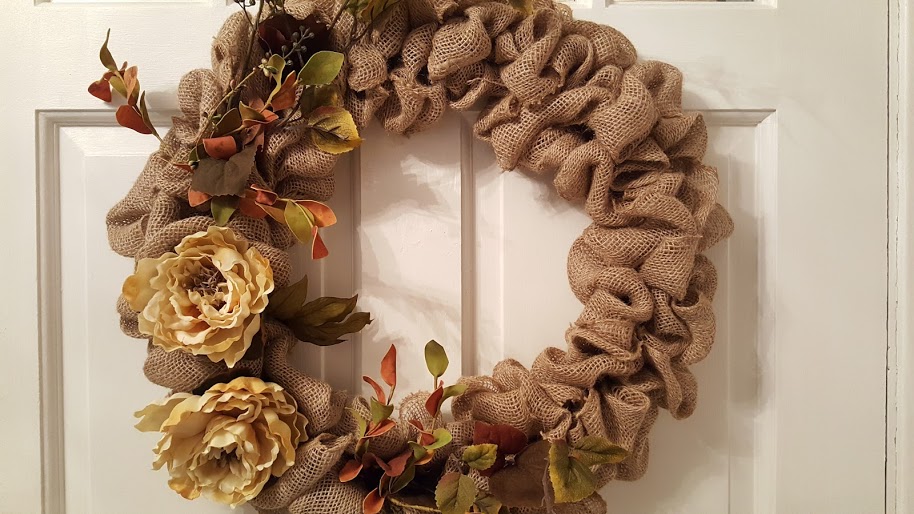
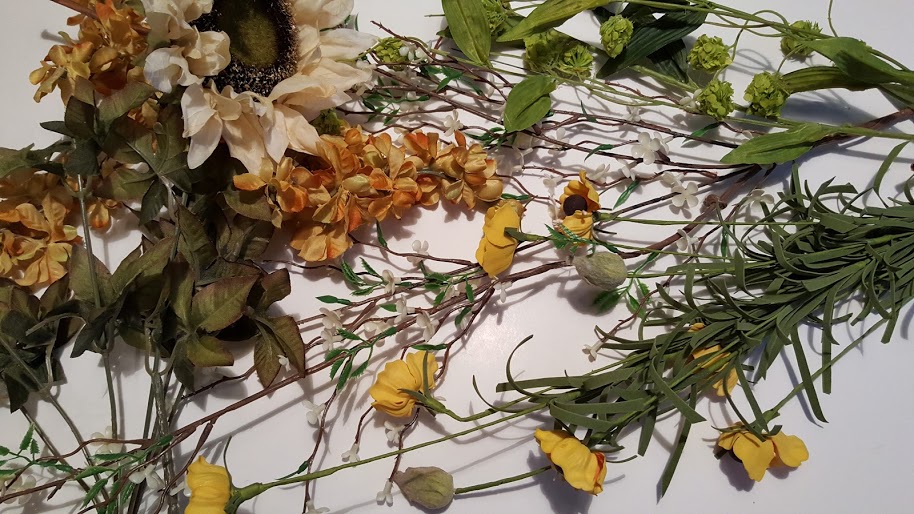
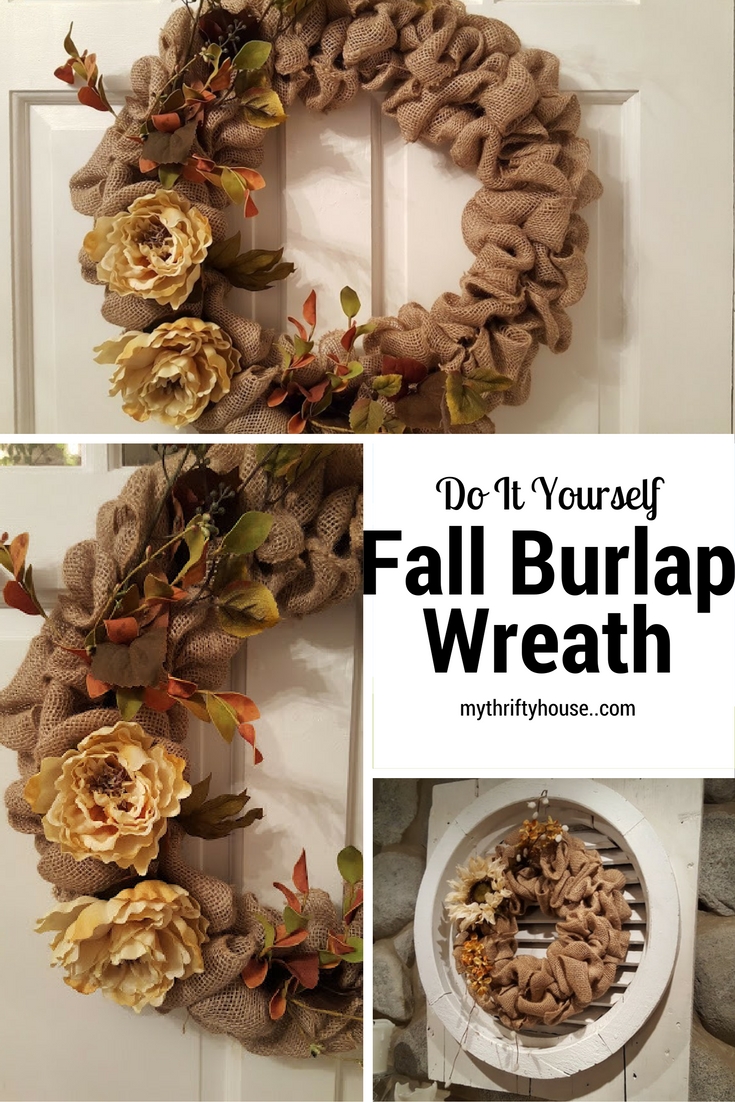
I made this 18 inch fall burlap wreath last year and I love the rustic look of the burlap which is very forgiving with this project. The faux flowers and twigs were scavenged off an ugly wreath I picked up for $2 at Goodwill. {My favorite place to shop.} Whenever possible, I recycle, reuse and repurpose items for my projects because that is what being “thrifty” is all about.
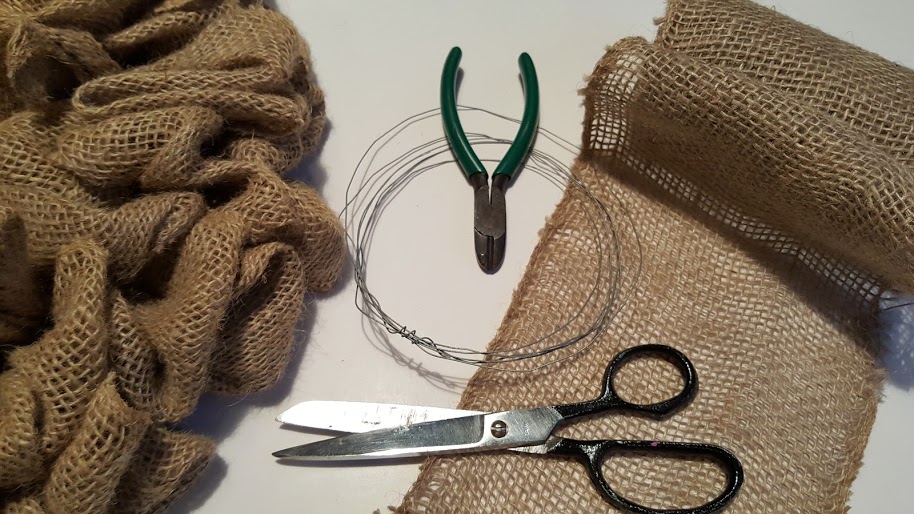
Fall Burlap Wreath Supplies
(Note: this post contains affiliate links. You can view my disclosure here.)
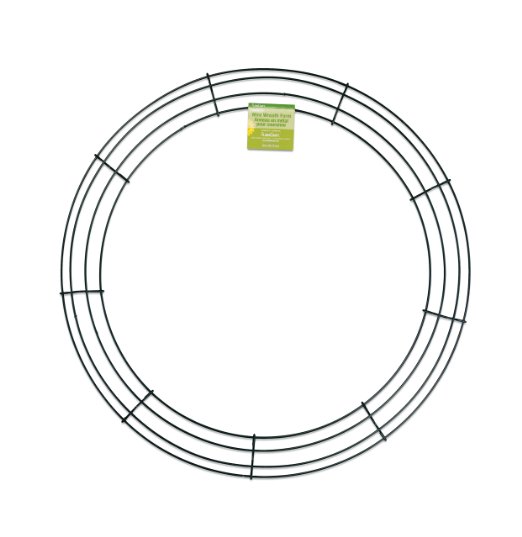
- 18 inch wire wreath form (or smaller if you choose)
- 2 spools of burlap
- florist wire
- faux flowers, twigs and leaves
Now let’s get started on making a fall burlap wreath but keep in mind, if you are like me, written instructions are great but a video tutorial would be better. At the end of this post I will include a video that helped me get the hang of this loop, twist and push process.
Your wreath form is going to have 4 wire rings and you are going to start by attaching the end of your burlap ribbon to the outer most loop.
Next you are going to pull the burlap up from the bottom of the wreath form and make a 3 inch loop. {If you know me, I don’t measure anything and it doesn’t have to be exact as the fluffiness of the burlap will hide any mistakes.}
Here is the tricky part, once you have pulled three loops through the wire form you are going to twist the ribbon and start your next row of three loops going from the inside ring and working towards the outer ring.
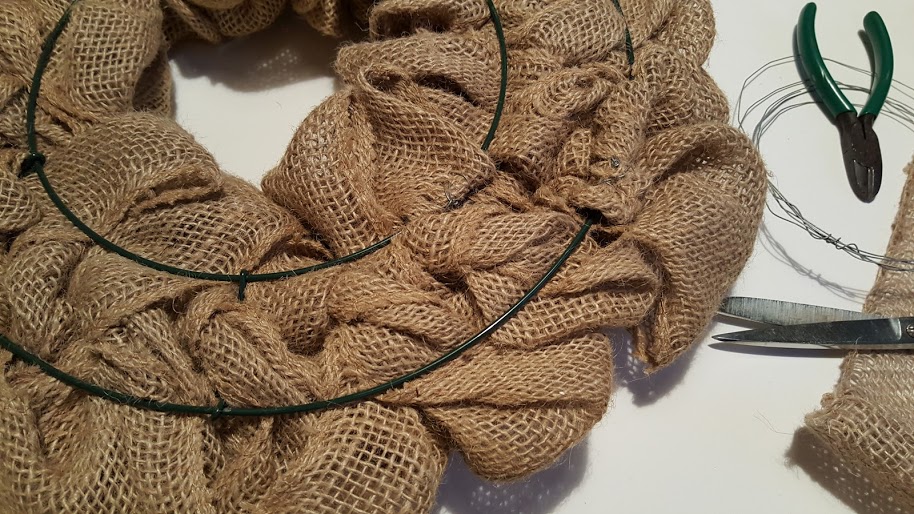
Again, twist the ribbon and start your next row of three loops going from the outer ring towards the inner ring. Keep doing this all the way around the wreath form.
As you go around the wreath form, push your rows together and keep it tight as you continue to loop and twist. This will also give your fall burlap wreath those wavy, puffy loops. Also, make sure that your loops are an even length as you do each row so you don’t have short and long loops.
If you run out of burlap ribbon in the course of your looping, twisting and pushing process, you can attach the next spool of burlap ribbon with some floral wire and keep the process going. Once you are done you can attach the end of the burlap ribbon to the wire form.
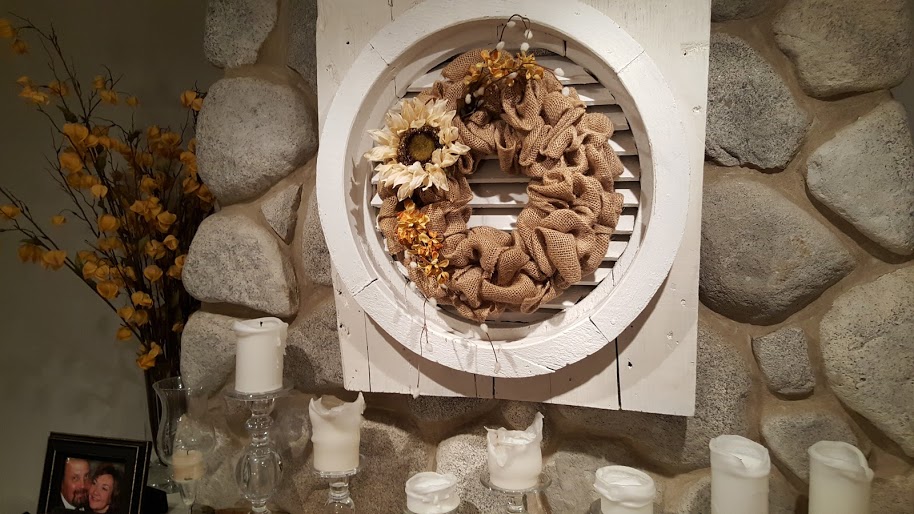
After you are done filling the wire form with your burlap loops you can jazz it up with some faux flowers. twigs and greenery. All done….hang it up and enjoy your work. Below is a 12 inch fall burlap wreath I made for my mantle.
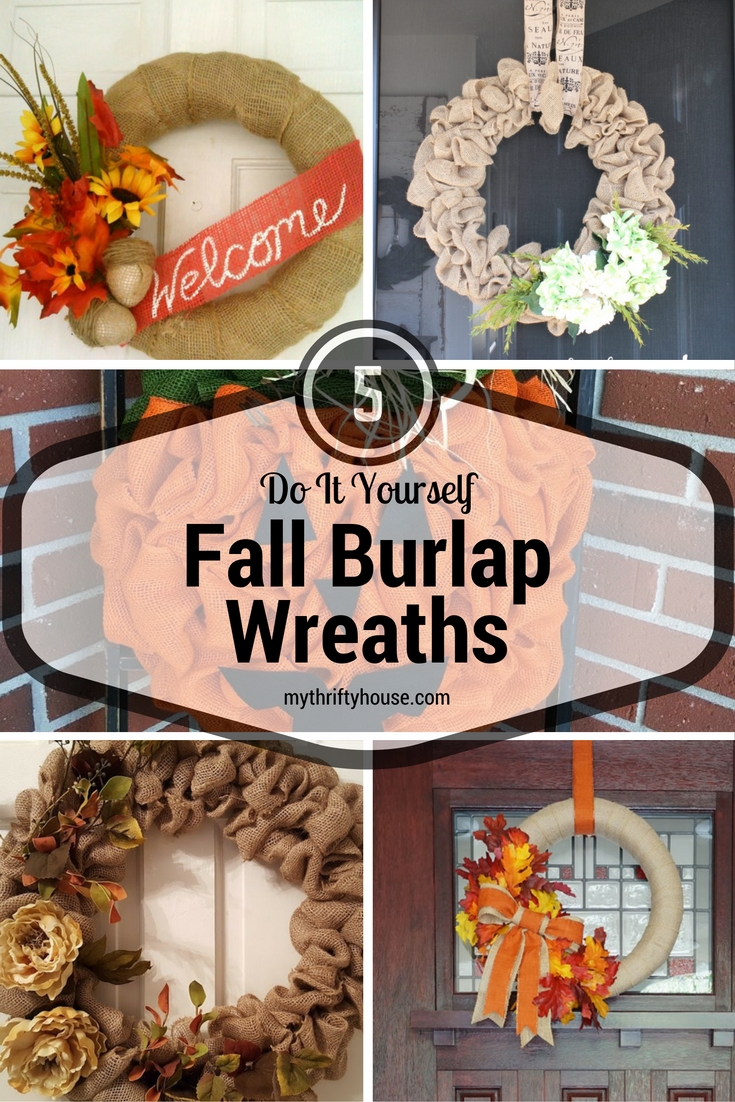
As promised, here are some other fall burlap wreaths made by my talented friends.
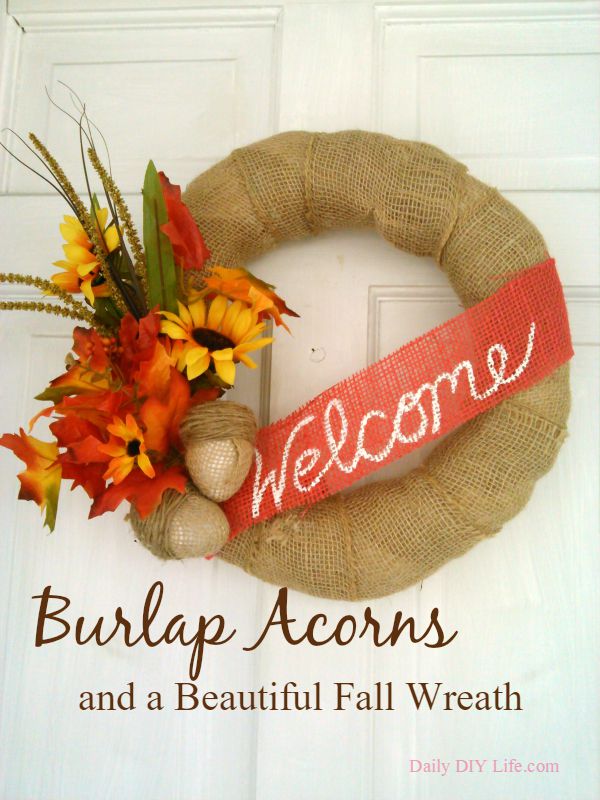
Burlap Wreath with Acorns {Daily DIY Life}
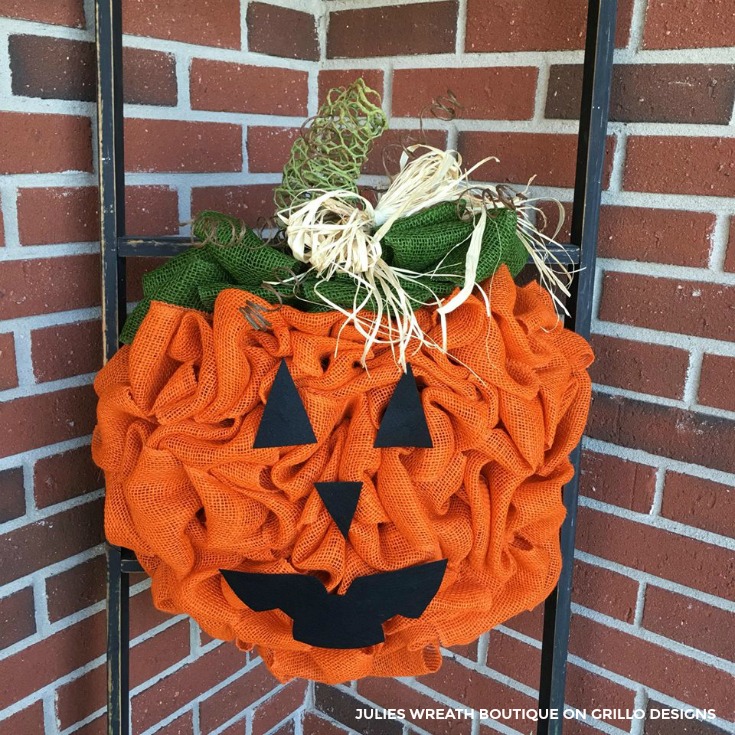
Pumpkin Burlap Wreath {Grillo Designs & Julie’s Wreath Boutique}
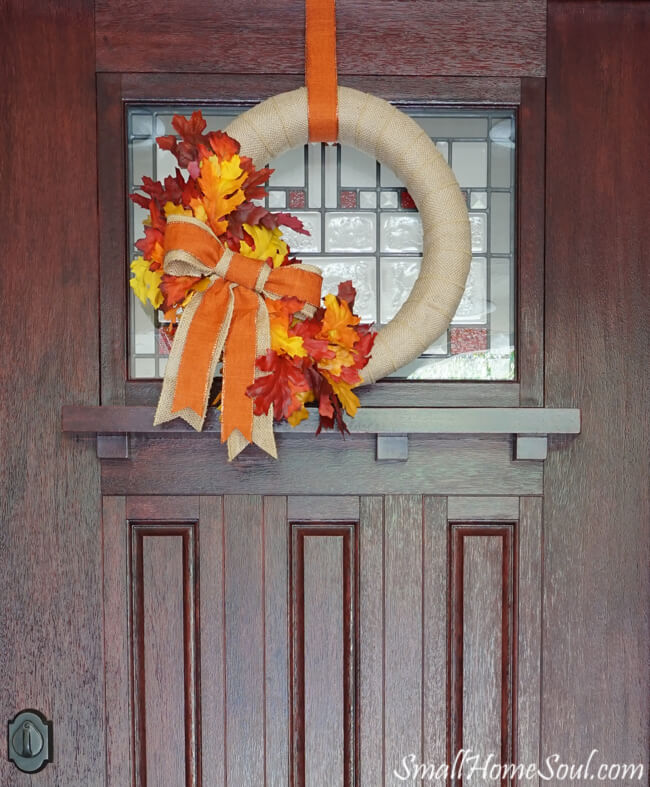
DIY Fall Burlap Wreath and Easy Bow {Small Home Soul}
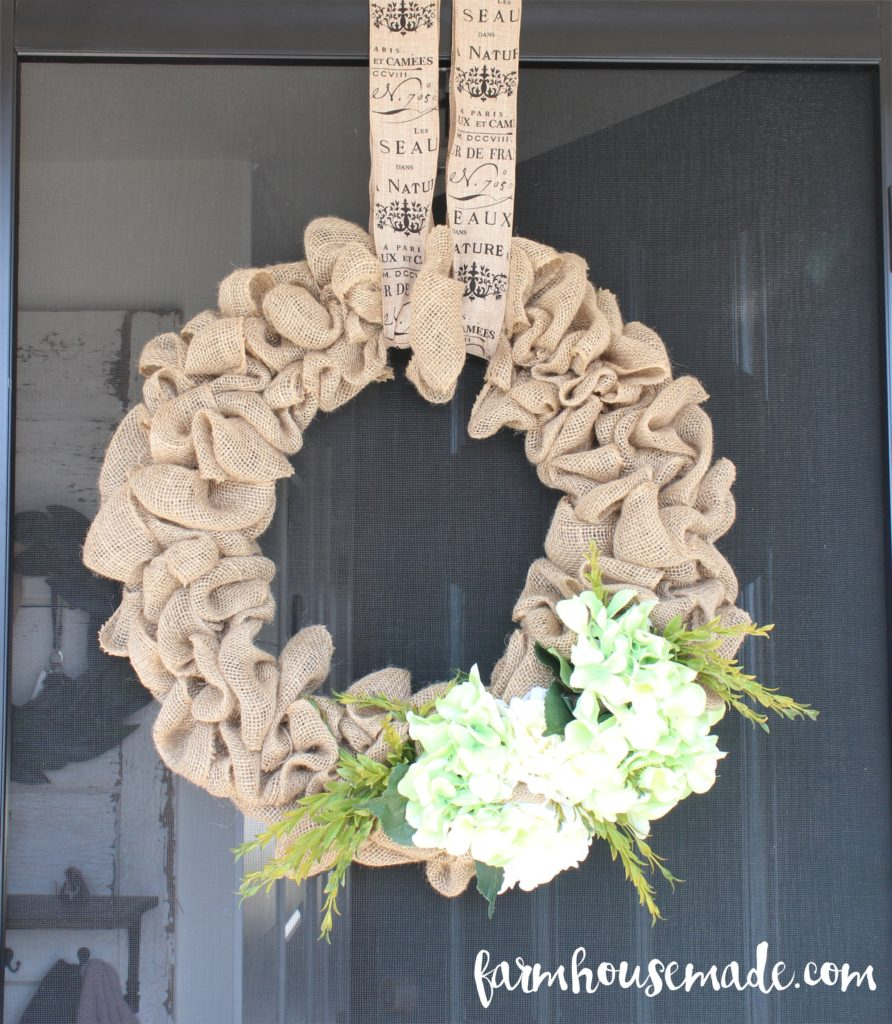
Burlap Wreath Tutorial {Farmhouse Made}
And now here is a video tutorial from YouTube that I have used for guidance when making my wreaths.

You are a burlap guru! I have always admired these kind of wreaths in fact I have one I paid a whole lot for several years ago hanging on the door. Thank you for sharing and the video. I want to try it out!
Debbie….watch the video a few times and know that it’s all about getting into a rhythm. You can do this and will love the results.
Burlap is such a great craft material and your wreath looks perfect for the season! All the other ones are so much fun as well!
Thank you Katrin….I do love burlap….there is something about the color and texture that just make it so appealing to me.
I love this! Denise! So pretty!!
Comments are closed.