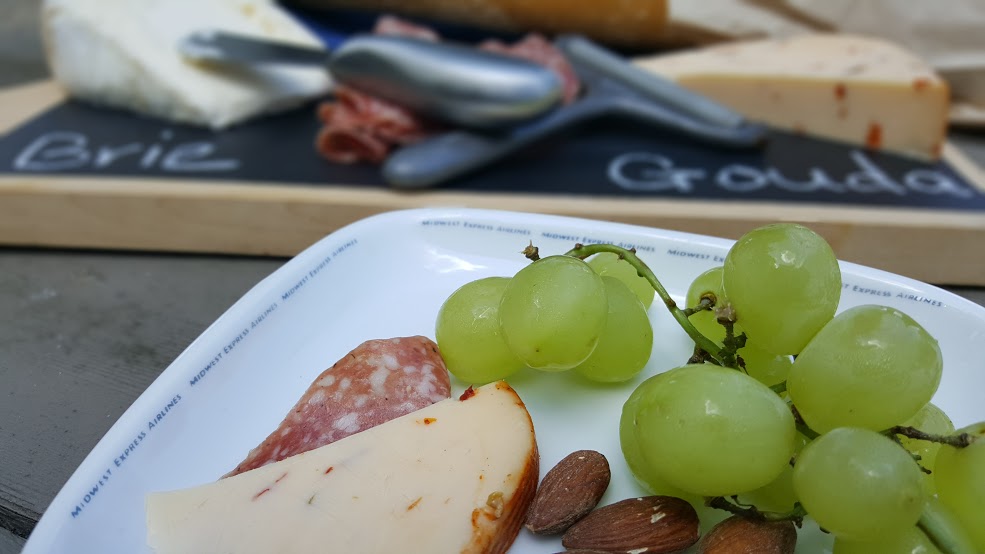
DIY Chalkboard Cheese Platter
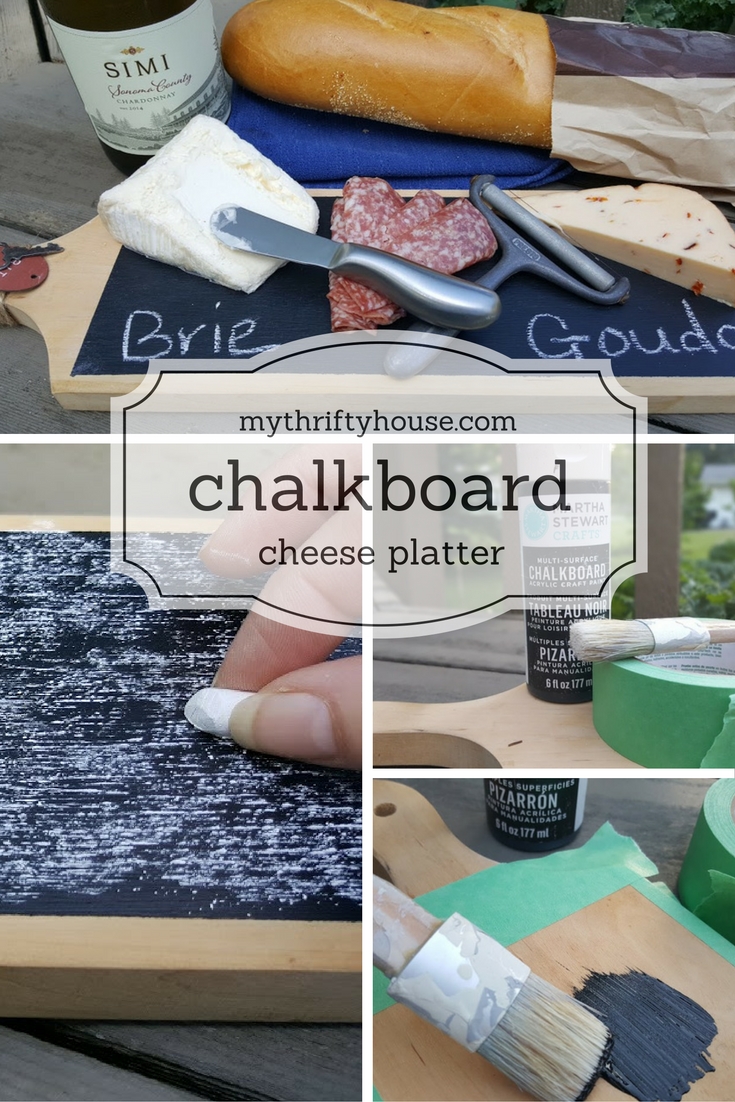
Although I have a lot of cutting boards in my farmhouse stash, you can purchase an inexpensive cutting board in any shape for this project. Grab some painter’s tape, Martha Stewart chalkboard paint and a paint brush for this quick and easy DIY chalkboard cheese platter.
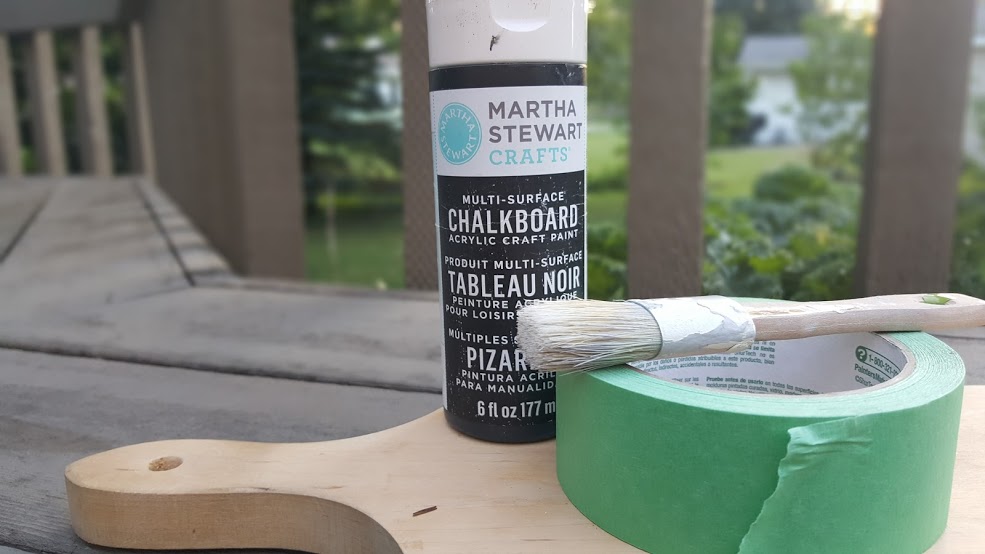
I taped off the edges of the cutting board with some painter’s tape and no I did not measure…that takes too much effort….so I just eyeballed the edges and added the tape.
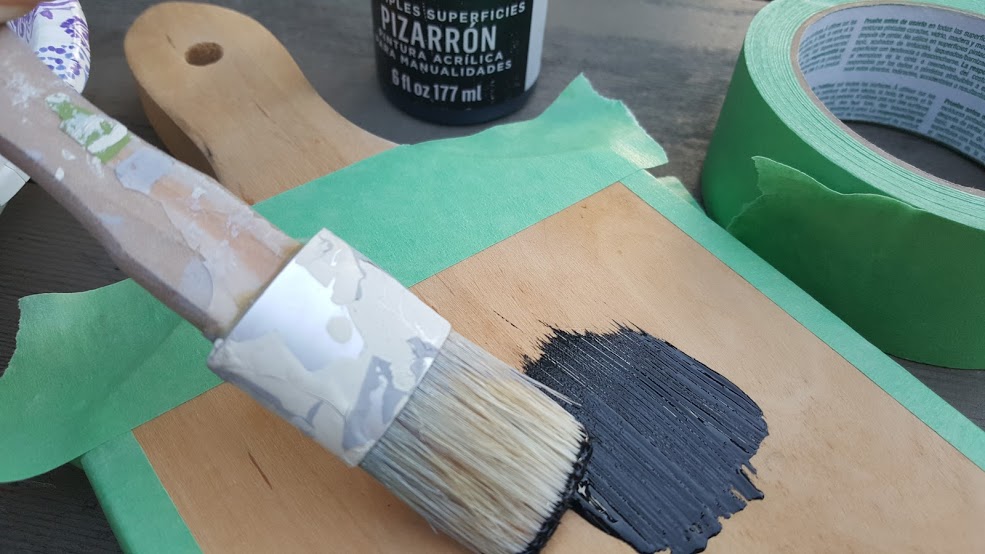
I added one coat of the Martha Stewart Chalkboard Paint to my cutting board and let it dry for one hour. Then I added a second coat of chalkboard paint and let it cure for 24 hours.
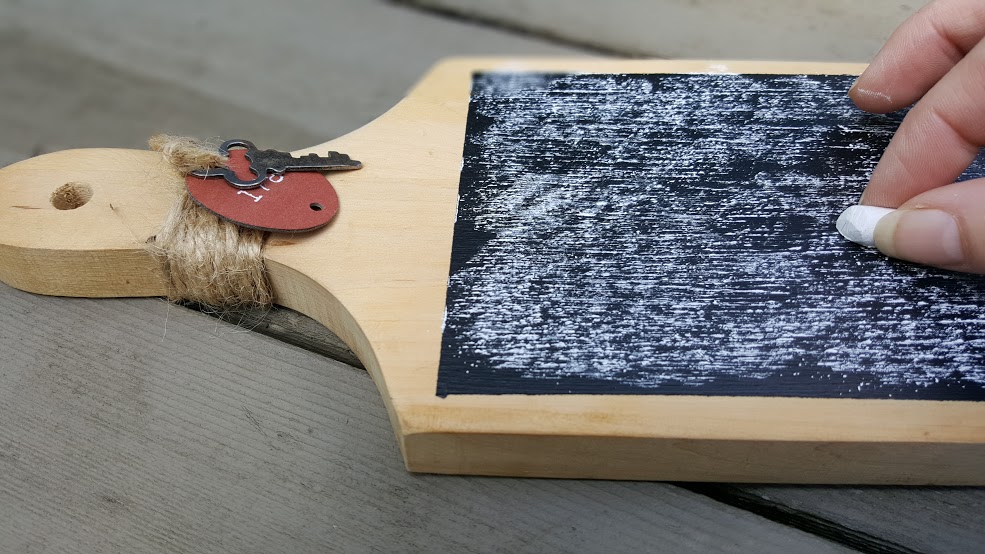
Next I rubbed white chalk all over the chalkboard to prime it and get it ready for writing messages. Then I added some twine to the handle along with some fun flea market trinkets I have picked up along the way this summer.
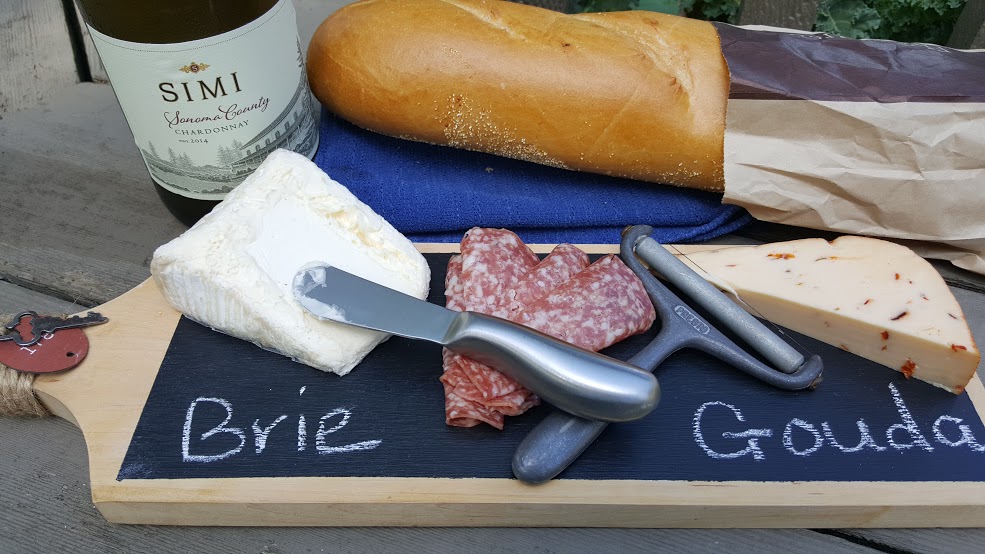
Lastly, I added the cheese to my DIY chalkboard cheese platter and enjoyed a delicious glass of wine. When I am done using my chalkboard cheese platter I can write a message and hang it on the wall.
Creative Craft Bloggers Group Link Party #29
How does a link party work?
Every Thursday a group of my crafty friends will host a new link party. By linking your recent homemade project to the bottom of this post a thumbnail image will be added to the collage with a link to your blog so that we can visit your blog and see what you have been making.
Your project could be featured!
Each week one of my crafty friends and myself will choose our personal favorite link of the week. If you are featured on one of our blogs, grab this button and share the good news with your crafty friends. {Put the button on your blog and share it on Facebook too.} Featured posts will also be added to the Creative Craft Bloggers Group Pinterest Board.
Make sure you visit my fellow Co-Hosts to see all the fun and crafty things they have to share with you as well as their featured guest.
Try it – Like it |Life Beyond the Kitchen | Our Daily Craft | Leaves & Stitches | All Things Beautiful
My Featured Post of the Week
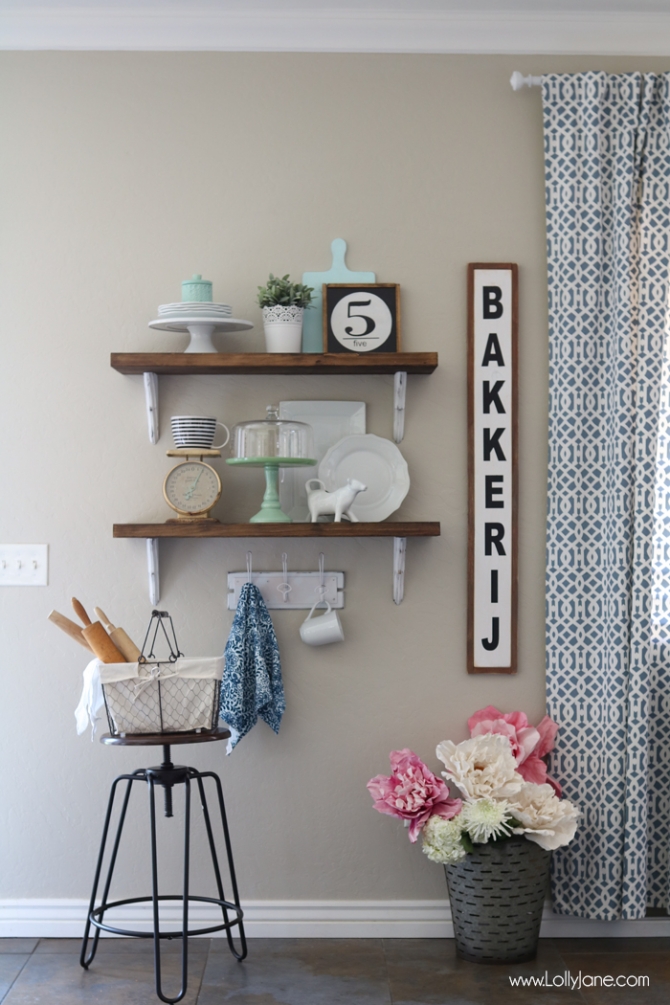
I have been considering {for a VERY, VERY, VERY long time} if I should add some open shelves to my kitchen. I am pretty sure these farmhouse chic open shelves submitted by Lolly Jane have me convinced that I need to make the leap and just do it. This is a great tutorial and I absolutely love how she has styled the shelves with all her farmhouse goodness and those signs….ahhhhh….love them.
Link Party Rules
I am excited to be inspired by your crafty projects and homemade goodness. Before you link up your project, please take a quick peek at the rules below and feel free to share this party with others. {The more the better.}
- Link to a specific post, not your home page.
- Link up something YOU made/wrote/created.
- Giveaways, other link parties, Etsy shops or business links are not accepted.
- Don’t link and run. Try to visit at least one link and show them some love. You may make a new friend.
- Please do not pin from the thumbnails below. If there’s a post you want to pin please click on the link title to visit the source and pin from their blog.
Link Up Your Post Below
Now let’s see what you have been up to lately. Share the link to your blog post using the InLinkz tab at the bottom of this post.
Love that Cheese platter!!! looks so good…
Thank you my friend.
What a fabulous cheese platter!! I could really use in my kitchen 🙂
Thank you for hosting and I wish you a good weekend
I have already used it once. It is perfect for a nice cheese sampling with friends.
Comments are closed.