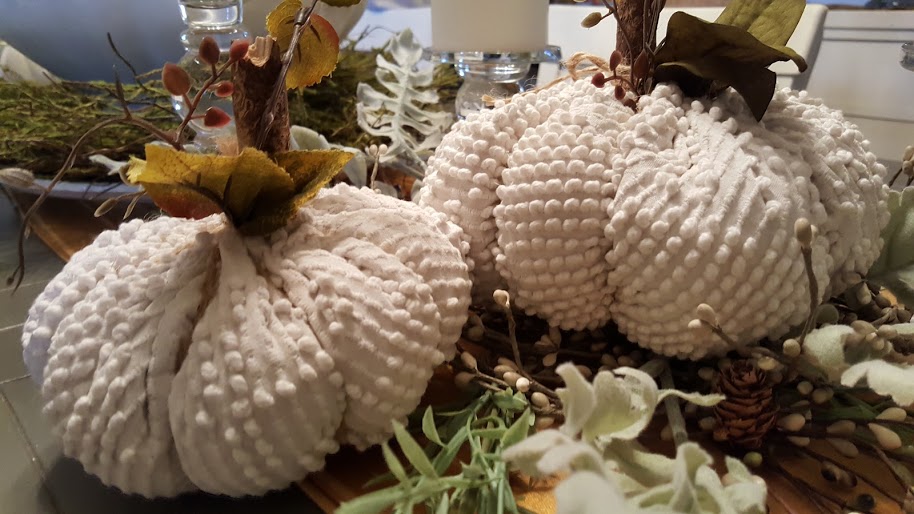
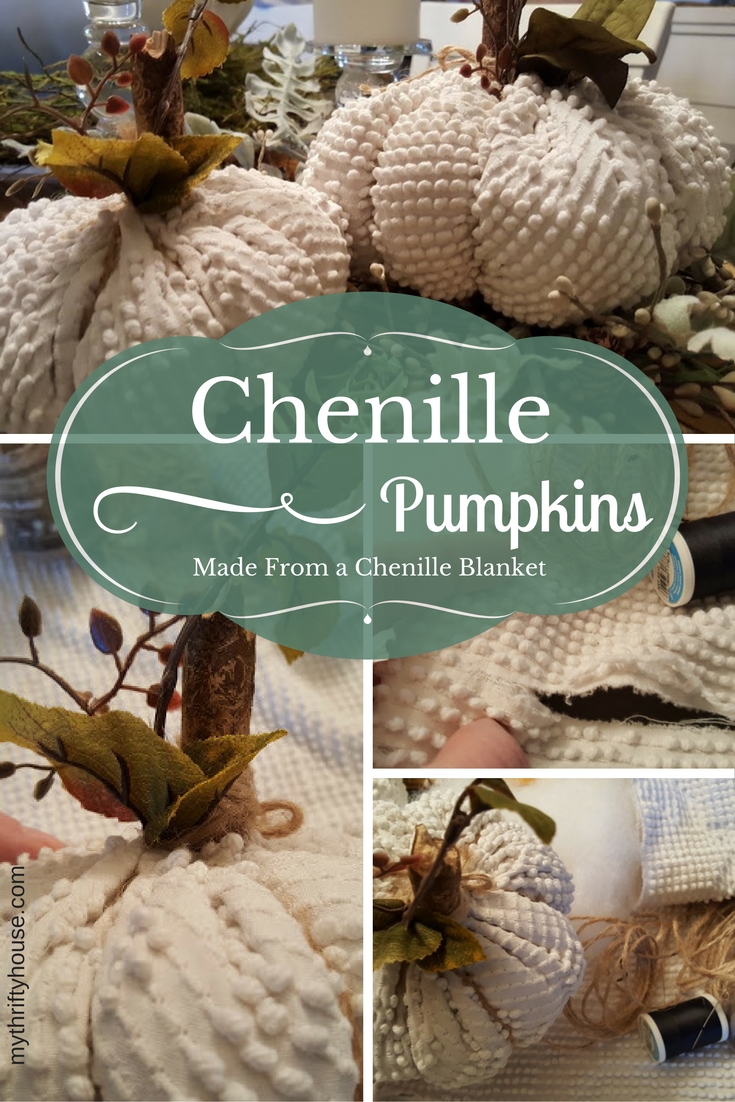
I made these chenille pumpkins from a blanket that had seen better days. I just can’t bear to throw things away when there is still some potential for a great project. These stuffed pumpkins are a true testament to my reuse, recycle and repurpose motto.
The chenille blanket was worn so thin that the material had started to tear and fray. I loved the texture of the popcorn dots of yarn and knew that I would one day find a way to recycle and repurpose this material.
Supplies Needed to Make Chenille Pumpkins
- Fabric {preferably recycled from an old chenille blanket but any fabric will work}
- Needle and thread
- Stuffing
- Jute twine
- Faux leaves and vines
- Stick for the stem
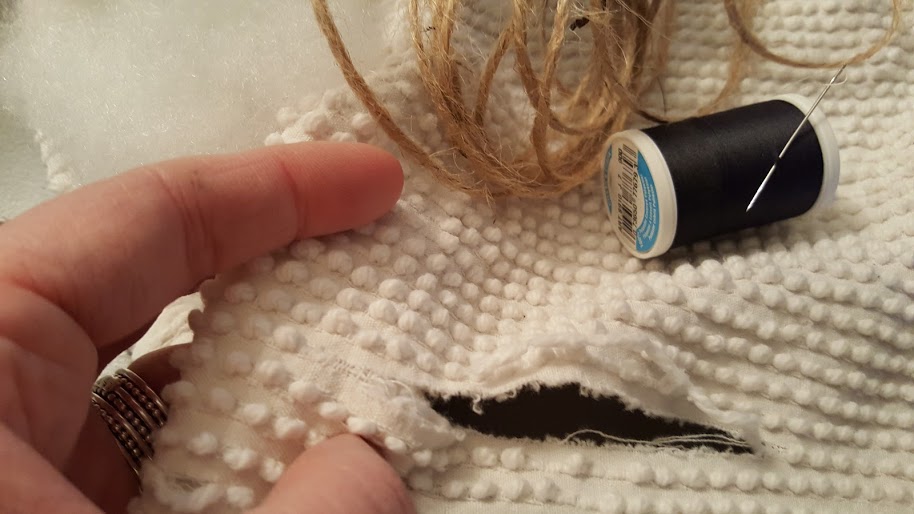
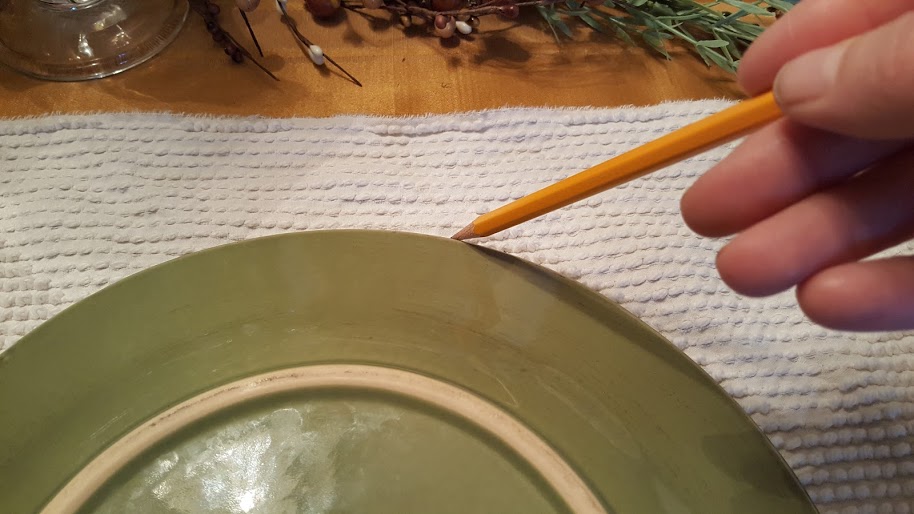
I cut a long strip of the chenille material from the blanket and then cut it into four 12×12 squares. I traced my dinner plate onto the smooth side of the material to create a circle pattern. {Note: I wanted various sizes of chenille pumpkins so I traced different sizes of plates.}
After I traced my circles I cut the material and grabbed my needle and thread. Now trust me when I say have very limited sewing skills as I can barely sew on a button but this is an easy sewing project and I have even seen some tutorials where people have opted to skip the sewing and use a glue gun.
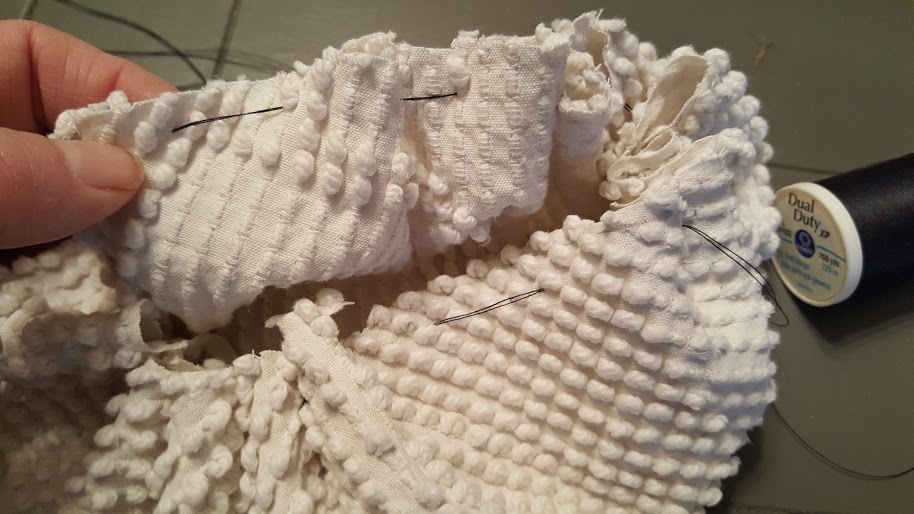
I am guessing a glue gun would work to make chenille pumpkins but honestly I just folded the edge of the fabric over and did a basting stitch all the way around the edge and gathered the material leaving and opening at the top to insert some stuffing. {I didn’t even know it was called a basting stitch until a friend told me it’s not called a gathering stitch. Here is a quick video tutorial of a basting stitch which can be used for gathering material.}
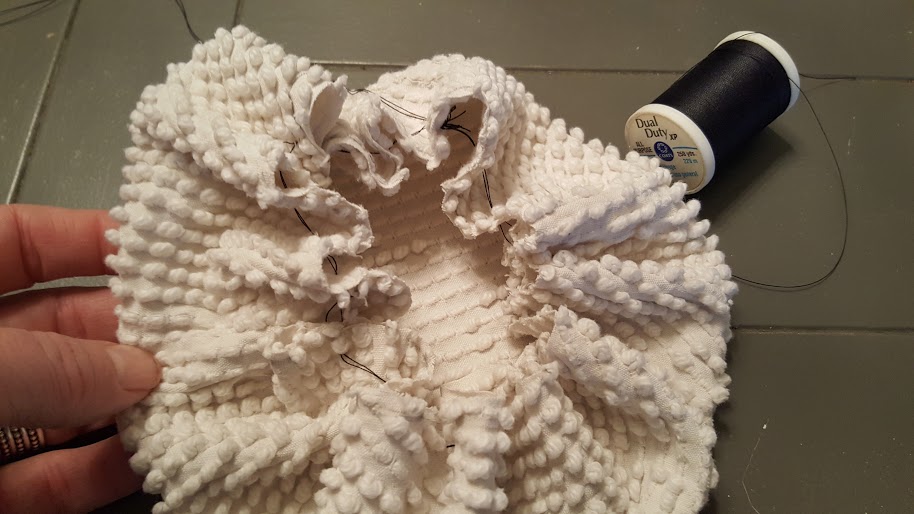
I filled the chenille pumpkins with some fluffy stuffing I picked up at the thrift store for 50 cents. Once I stuffed it to my liking I pulled the basting stitch until the top was almost closed but left room to insert a stem for my pumpkins.
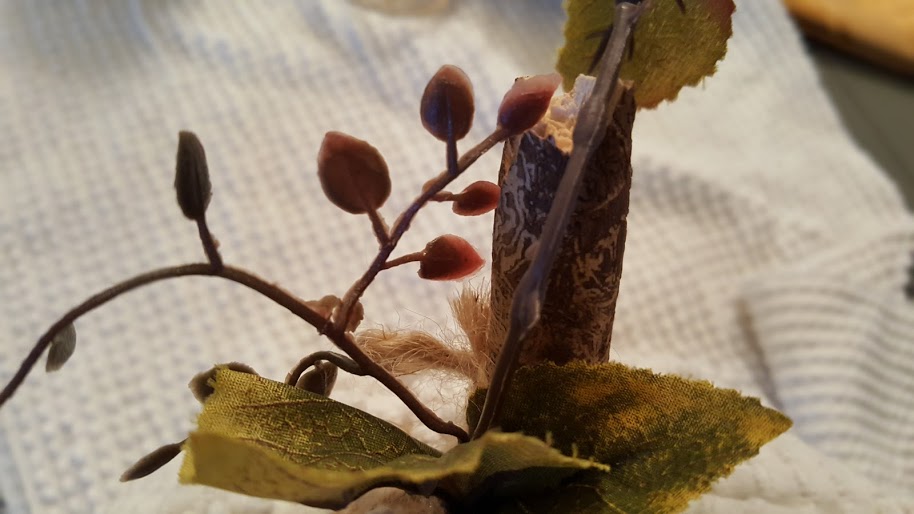
The stem is made out of random sticks I found out in my yard and I added some faux leaves and curly vines from my craft supply stash. (Yes, you can see more project using my craft stash supplies here.) Once the stem was in place I took some jute twine and crisscrossed it around the chenille pumpkins to create the look of grooves.
Making these chenille pumpkins was a quick and easy project that any beginner could do. Trust me.


These are just the cutest pumpkins!! I love the texture of them and that you have repurposed a chenille blanket to make them! Love using old chenille blankets to make repurposed quilts too!
Sam…I loved this blanket so when it started to tear I was bummed but knew it would serve another purpose in a new life.
I have yet to make any pumpkins but I think these are the best I’ve seen, I love the bumpy chenile, it reminds me of my grandma 🙂
Toni…I love the texture too and they are super easy to make. With your sewing skills I am sure you can add an extra twist to my design.
Oh my goodness- these turned out so well!!! I used to have an old chenille blanket-wishing I had kept it now!?
Now you know why I never get rid of anything and when I do I regret it forever!
This blanket was supposed to be turned into pumpkins for sure, these are so darn cute and just perfect!!
Thank you Katrin….I am quite fond of them too.
Adorable and I love the texture the fabric has.
The texture adds so much character to these pumpkins. I love it.
Denise, I think these could be the cutest pumpkins I have ever seen. I am in love with all things chenille.
Awww…thank you Lisa. I am quite fond of them too.
These are so cute!
The chenille make the pumpkins look almost real, especially with the way you made the groves!
LOVE, LOVE, LOVE!!!! Thanks for the tutorial, now to find a blanket that needs a second life.
I love these pumpkins. I have an old chenille quilt that will work perfectly for these. Thanks for the tutorial. I will be making some of these soon.
Bev
Very cute – I just love anything chenille!
Thank you Wendy…I am a sucker for chenille too!
Very cool idea! The chenille spread takes me back to when I was a little girl- I wish I still had the spread to do something similar!
Yes, I remember my Grandma having a blanket like this one. Great memories.
Love these soooooooo much
Thanks Deborah.
Love this idea
Comments are closed.