
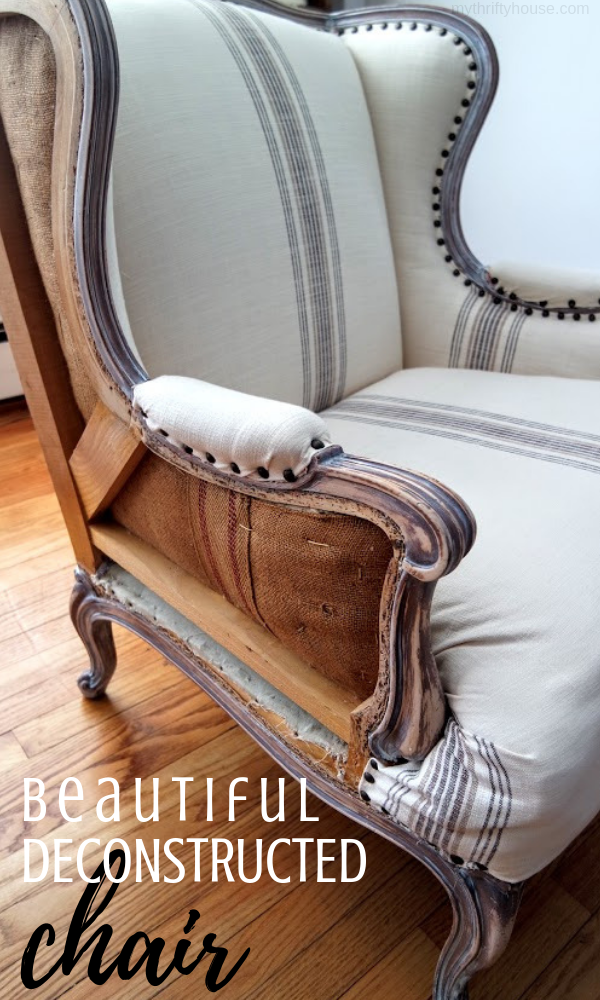
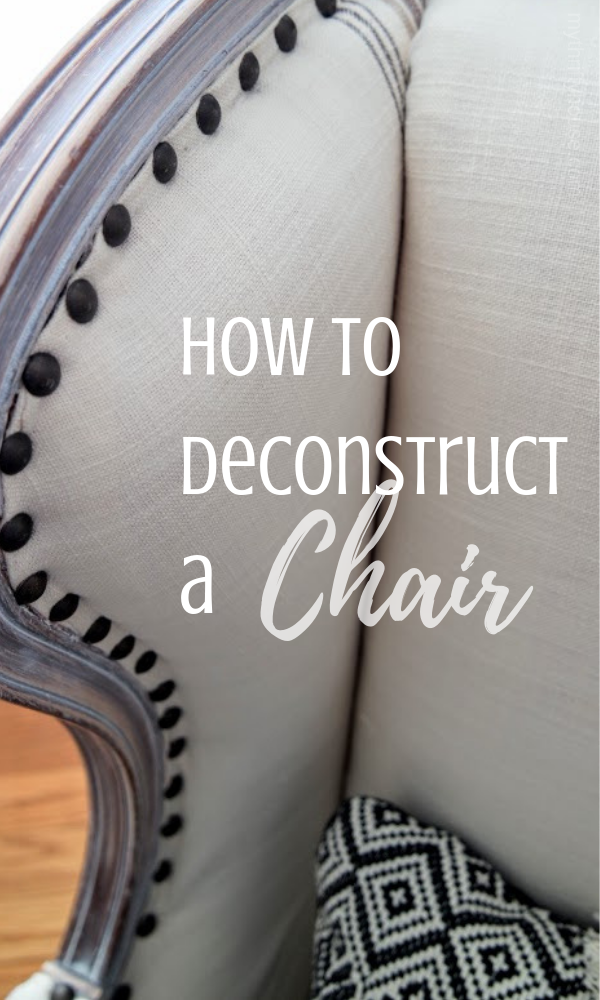
Deconstructed furniture is a hot trend right now and I personally love the look because you can’t mess it up. I recently shared a beautiful chair my husband deconstructed for me and I received a ton of positive feedback and requests to show you how to deconstruct a chair of your own.
This post contains affiliate links and you can read my full disclosure here.
Finding the right chair to deconstruct
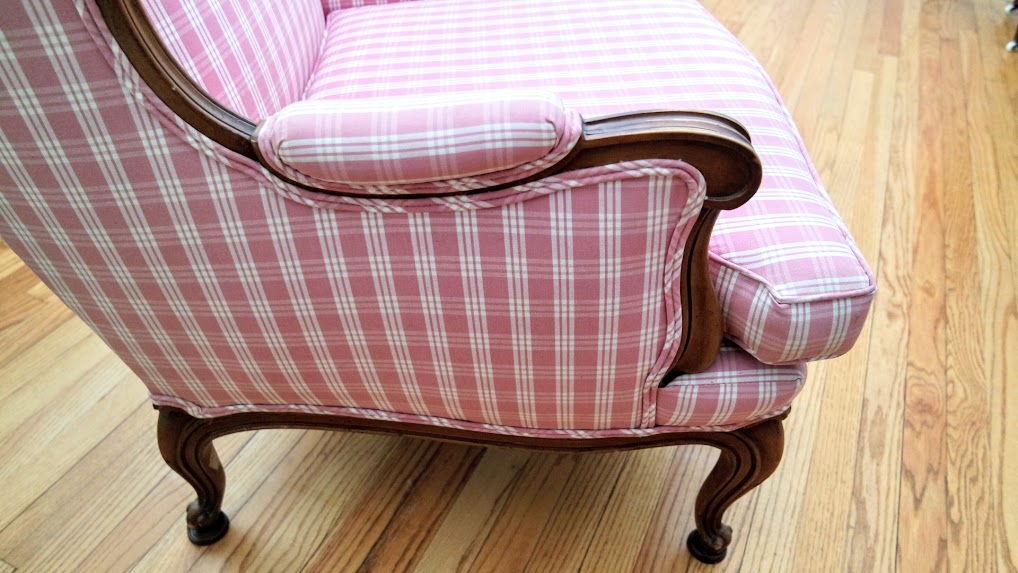
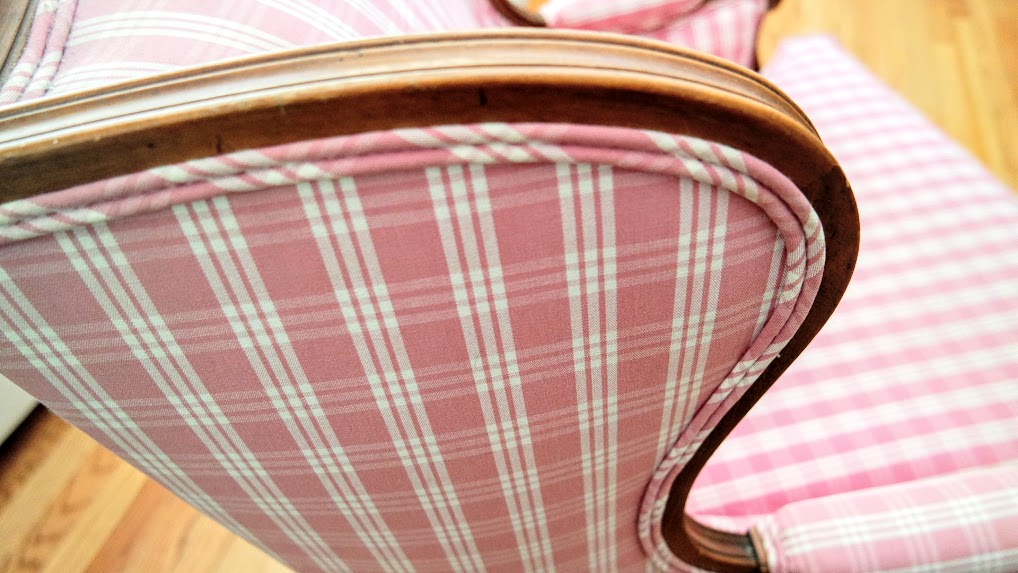
Luckily, I was gifted two, pink plaid chairs. I loved the style, size and lines of the chairs and the gorgeous wood detail but the color was all wrong for my decor.

Grandma’s attic, garage sales, thrift stores, flea markets and Facebook Market Place are all great resources for finding a chair. Look for something inexpensive and sturdy with simple lines to follow.
Fabric for the deconstructed chair
There are many options when it comes to reupholstering your chair. I thought about purchasing drop cloth material and I even considered using chalk paint to cover the fabric like I did on my outdoor cushions.
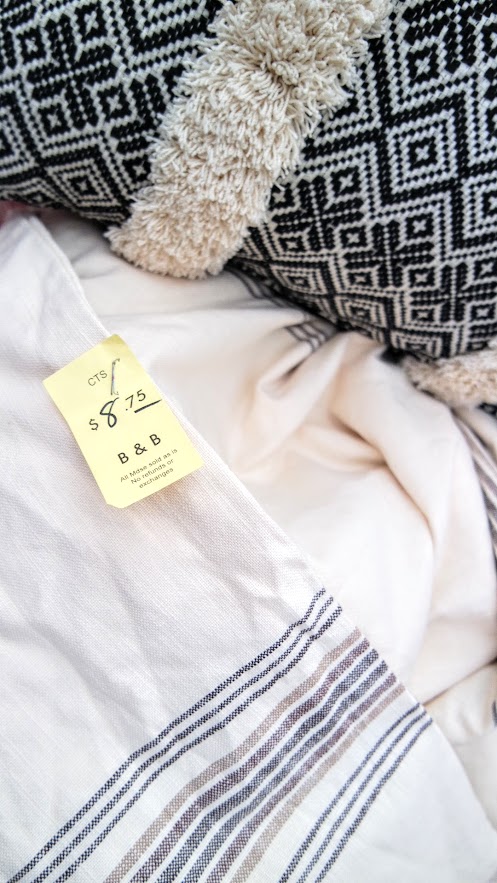
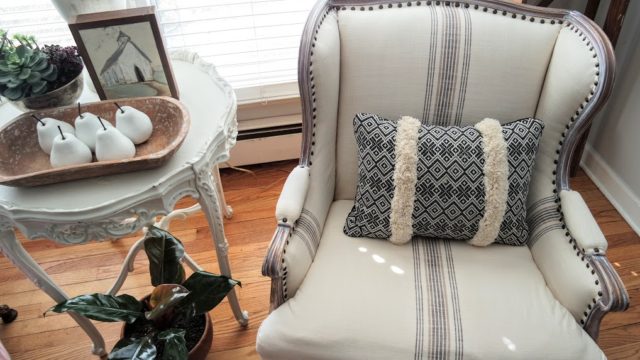
I had settled on using drop cloth as the upholstery fabric but then the thrift store Gods handed me the best option of all- an Ugg queen size duvet made of a heavy, cream colored fabric with farmhouse stripes! The best part was that I got it for less than $10.
Yes, get thrifty and creative with your fabric. See what kind of material you can find in your own closet or head over to your local thrift store for some alternatives.
Tools needed for deconstructing a chair
I am forewarning you now, depending on the size of your chair, there are going to a lot of staples and I mean- a gazillion staples that need to be removed.
Below are links directly to the supplies we purchased or had on hand already.
- Fabric/material– Although I used a thrift store duvet, I had this drop cloth in my Amazon cart and would have used this for my material.
- Burlap– If you are lucky, your chair will have burlap on the interior of the chair but if not you may want something to cover up the not so pretty parts of the chair.
- Staple Remover– Invest in a good staple remover to save yourself some time and hand cramping.
- Stapler– You will also need an electric stapler – manual stapler will work too if that’s what you have on hand.
- Pliers– A good set of needle nose pliers is needed to help with staple removing.
- Hammer– A small tack hammer is definitely needed. A large hammer will work but the smaller tack hammer is easier to get in small spots.
- Upholstery Tacks/Brads– Lots of tacks are needed. We went through approximately 300 tacks per chair.
- Measuring tape– We also used a spacing guide that was perfect for keeping the tacks evenly spaced apart.
Misc supplies to think about:
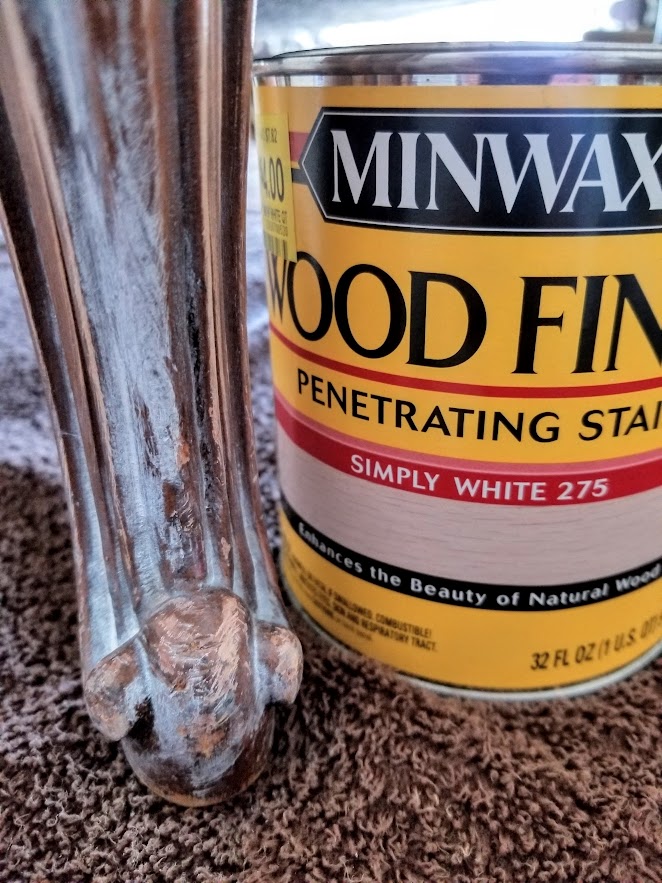
- Wood Stain or Paint– I wanted to tone down the wood legs on my chair so I opted for a white washed look. I put on the white stain and after a few minutes wiped it off.
- Sewing Machine– You’ll definitely needs a sewing machine if you are planning on sewing slipcovers for your cushions. We opted to wrap over the cushion and make the seat one piece.
- Hot glue gun– you might need to glue some edges that you can’t reach with the tack hammer.
- Batting– Depending on the condition of your chair, you might need to do some repairs and fill in some gaps with batting.
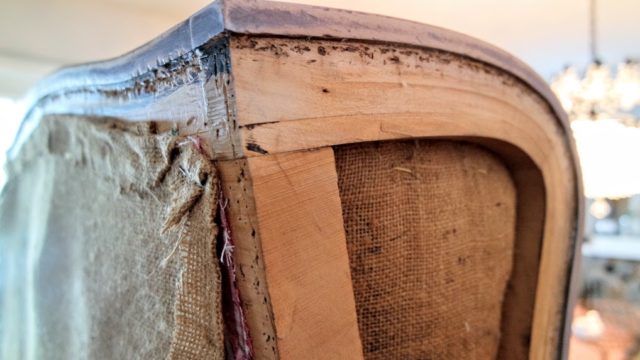
- Sandpaper– After removing the gazillion staples, there were some rough spots that needed some minor sanding.
“You need to be strategic about deconstructing your chair.”
How to deconstruct a chair
I know, it seems obvious but you need to be strategic about deconstructing your chair. You don’t have to remove every stitch of fabric so don’t go crazy and create extra work for yourself by tearing it apart.
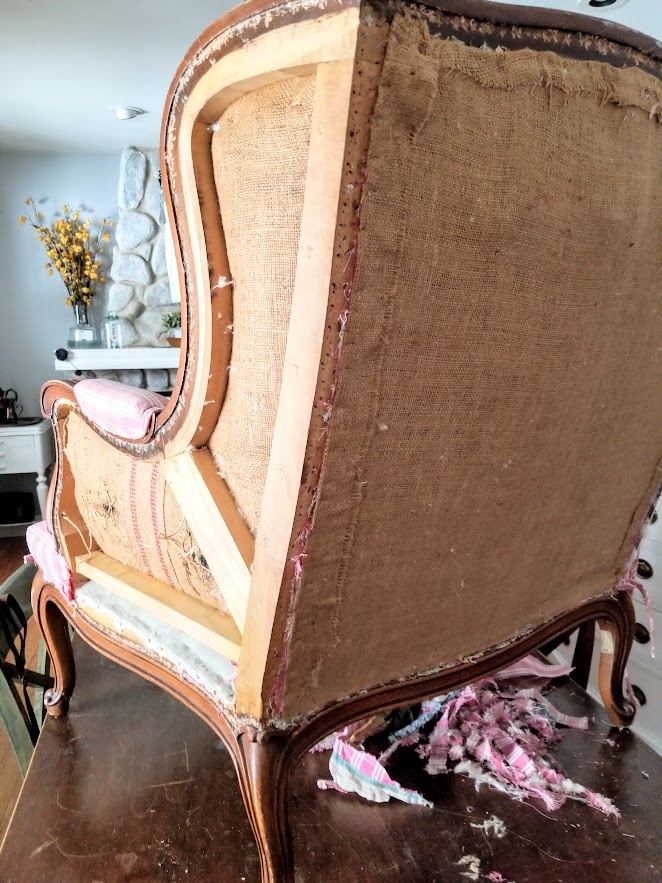
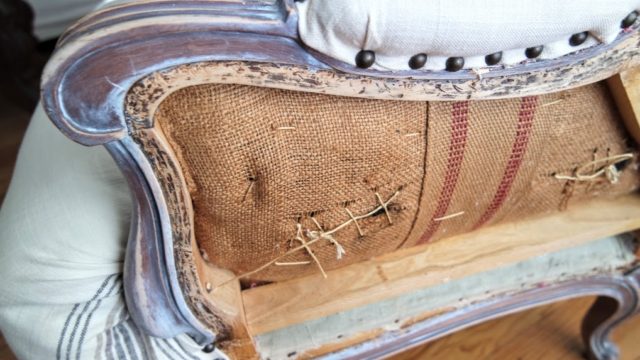
First you want to determine how much of the chair frame you want exposed. We started by taking the sides and back off of the chair to expose the frame.
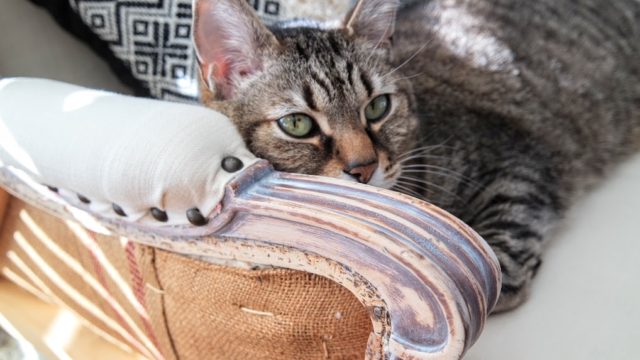
My chair had an awesome frame and lots of beautiful burlap pieces on the interior. I totally lucked out there because I have seen some disgusting chair interiors online.
Also, it is a good idea to vacuum or sweep as you go to pick up those staples and any surprises you’ll find leftover from the previous owners. Yucky!
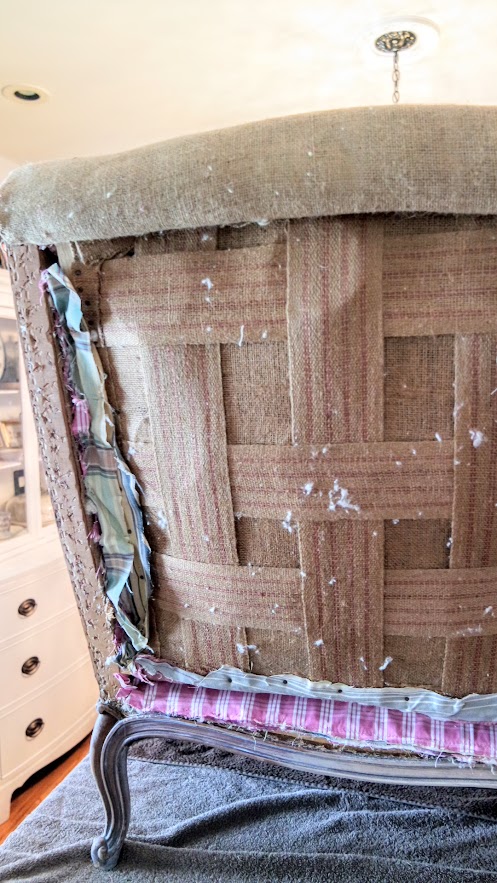
Once you remove the sides and back you will be able to see how the chair was originally upholstered. If possible, save yourself some time and just upholster right over the original fabric and follow the same staple path.
We upholstered the inside arms first because there were some tricky corners and arm pads to cover. Then we did the seat back from top to bottom.
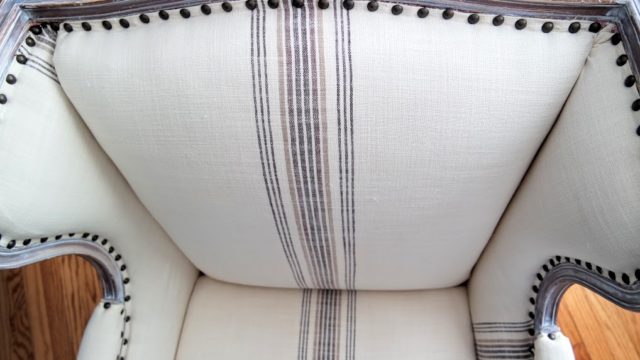
The tricky part was how to do the seat cover. We were going to sew a separate removable cushion cover like the original chair but then after doing some research on Pinterest we opted to just cover right over the cushion and make the seat one solid piece.
Perfection not required
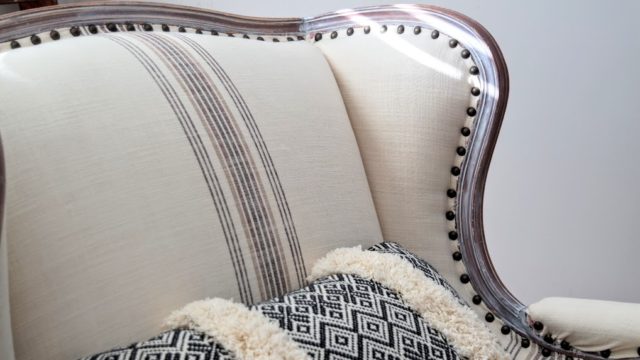
What I love, love, love the most about deconstructed furniture is that the imperfections are truly part of the character and beauty of the piece.
Depending on your personal preferences, it is nearly impossible to make a mistake because lumpy fabric, scratched wood, frayed edges and uneven lines is truly part of the beauty and character.
I know it may seem intimidating but my final piece of advice on how to deconstruct a chair is to take your time and don’t be afraid to make mistakes.

So, you didn’t remove all of the pink fabrick? You just covered it with the new material?
LOVE your final project!!
No we did not remove all of the pink fabric, just in the places we wanted the wood and “guts” to show. We upholstered over it but first we made sure we couldn’t see the pink or print through the fabric we used to cover it. Apparently, this is a common practice because we found several layers of fabric under the pink.
Thank you, thank you, thank you.
I have a very similar chair and am attempted to decontstruct it. Mine though has a tufted back which I love but am not sure I am able to do myself. May have to employ a professional. I have stripped it and sanded the exposed wood and layered chalk paint and hemp oil finished….ordered fabric sample for the feature back and seat cushion going with remnants and burlap for exposed deck, sides
Comments are closed.